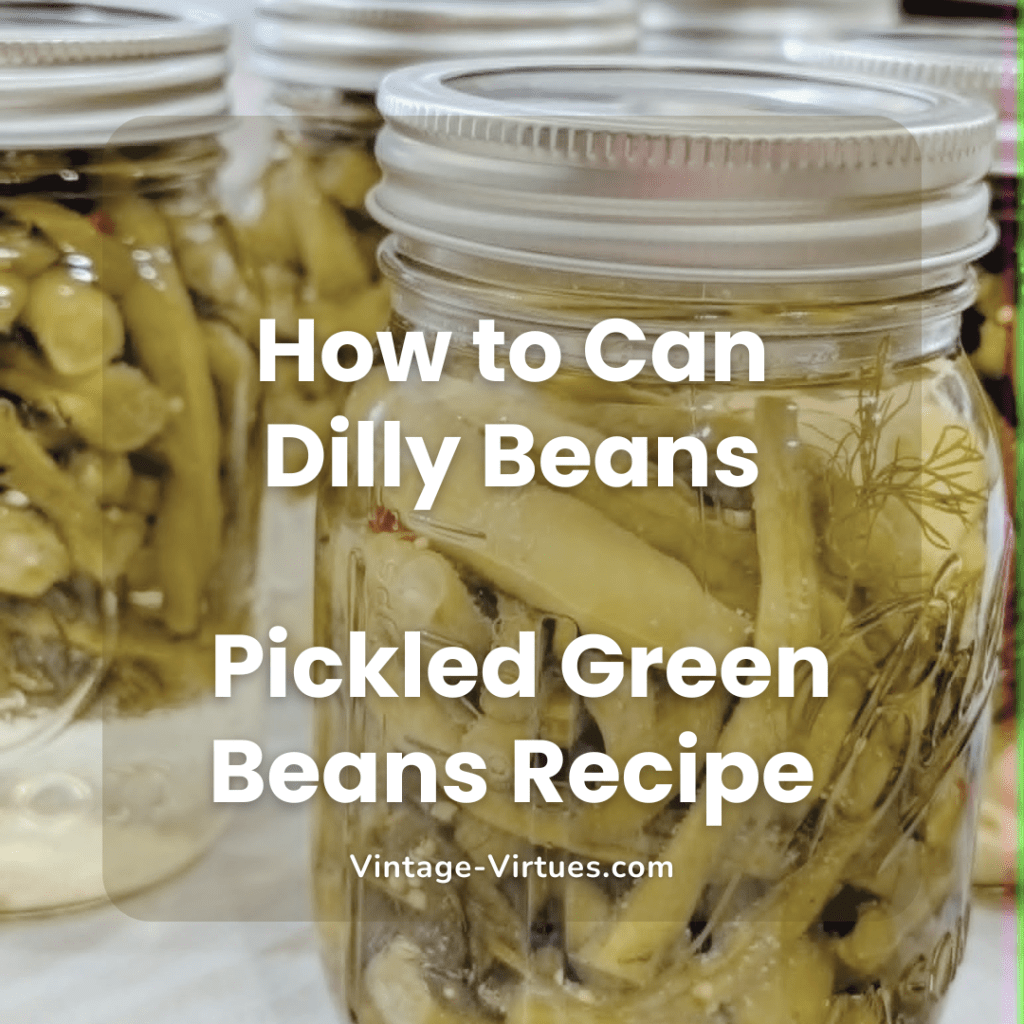
My Grandma Gail introduced me to the delightful taste of Dilly Beans, a tradition I now carry forward by preserving my own jars. Dilly beans are one of my favorite recipes to can during the garden harvest season. The crisp snap of the pickled beans, the tangy brine, and that unmistakable dill flavor make my mouth water. Whether you enjoy them straight from the jar as a snack or serve them as a side dish, dilly beans are a family favorite that’s surprisingly simple to make at home.
The past couple of seasons, I decided to take my canning recipe to the next level by incorporating FarmHouse Teas Pickling Spice into my tried-and-true Ball Blue Book recipe. The result? Absolutely phenomenal pickled beans with just the right amount of kick. Let me walk you through this easy recipe that will have you preserving pounds of fresh green beans in no time.
Why You’ll Love This Recipe
Canning your own dilly beans is the perfect way to preserve your garden harvest or those fresh beans you picked up at the farmer’s market. This easy way to preserve green beans means you’ll have delicious, crunchy pickled vegetables ready to enjoy year-round. The best part? Once you master this simple step-by-step process, you’ll find yourself making batch after batch. It quickly becomes a favorite part of the canning season.
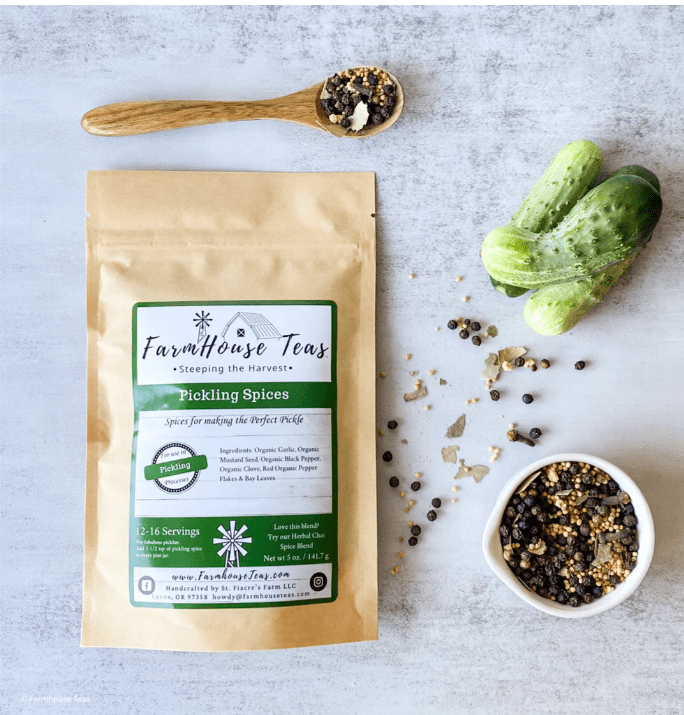
The addition of FarmHouse Teas Pickling Spice is my must-have secret ingredient every season. This organic blend contains garlic, mustard seed, black pepper, clove, red pepper flakes, and bay leaves. It’s the perfect complement to traditional dilly beans and adds depth of flavor that you simply can’t get from store-bought versions.
Gathering Your Ingredients
Before you begin, you’ll want to gather everything you need. I got my green beans fresh from a local you-pick farm while waiting for my own garden harvest to come to fruition. Fresh beans make all the difference in achieving that perfect crisp texture.
For this recipe, you’ll need 2 pounds of fresh green beans, white vinegar (5% acidity), water, canning salt, fresh garlic cloves, fresh dill heads or dill weed, and the star of the show, FarmHouse Teas Pickling Spice. You can use the same method for yellow or wax beans, depending on personal preference.
Equipment You’ll Need
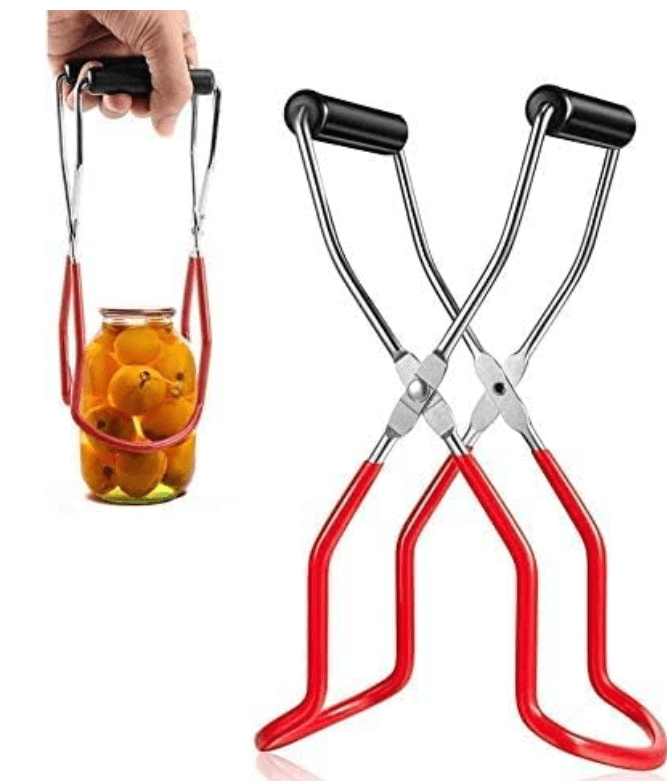
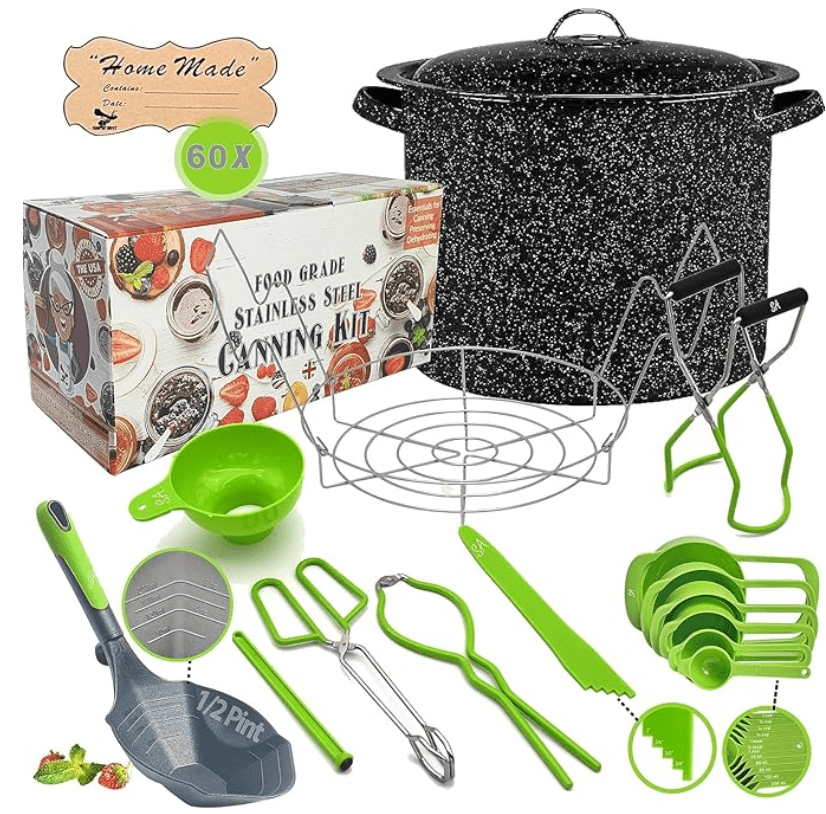
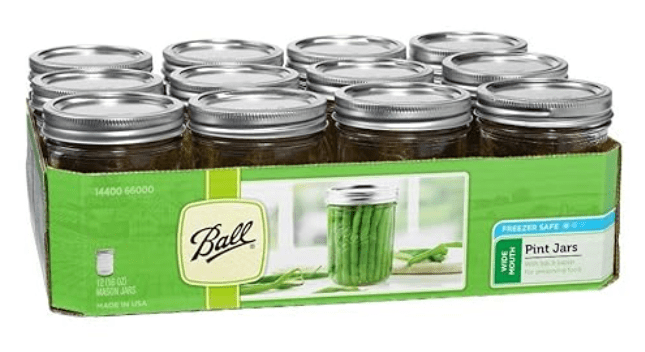
Home canning requires some basic equipment, but don’t worry if this is your first time. You’ll need pint-sized canning jars, a water bath canner or pressure canner, a jar lifter (such a handy tool for removing hot jars safely), a large pot for heating your pickling brine, and clean paper towels for wiping the rims of the jars. I also recommend having a debubbler or a plastic knife to remove any trapped air bubbles.
Preparing Your Beans and Equipment
The first step is to wash beans thoroughly under cold running water. Carefully inspect each bean as you trim the ends. I snap mine in half to fit in my jars when placed lengthwise.
While you’re prepping your beans, it’s best to multitask by getting your water bath canning equipment ready. I sanitized 8 pint-sized mason jars in my pressure canner as I brought it to a brisk boil. You can also use a boiling water bath in a large pot if you don’t have a pressure canner. The National Center for Home Food Preservation recommends sterilizing jars for all home food preservation projects.
Modern flat lids no longer require simmering, so check your package directions. Keep everything at room temperature until you’re ready to fill.
Making the Pickling Brine
In a small saucepan or medium pot, combine 2 1/2 cups water, 2 1/2 cups vinegar (5% acidity, white vinegar works best, though some people prefer apple cider vinegar), and 1/2 cup of canning salt. Avoid using salt substitutes, as they can affect the quality of your pickled beans.
Bring this mixture to a rolling boil. The hot brine needs to be ready when your jars are packed and ready to fill.
Packing the Jars
Remove the hot jars from your canner and place them on a clean surface. Into the bottom of each sterilized jar, add 1/4 tsp of FarmHouse Teas Pickling Spice. If you prefer a spicy bean with a powerful kick, you can add up to 1 1/2 tsp. Next, add one clove of garlic and a sprig of fresh dill to each jar.
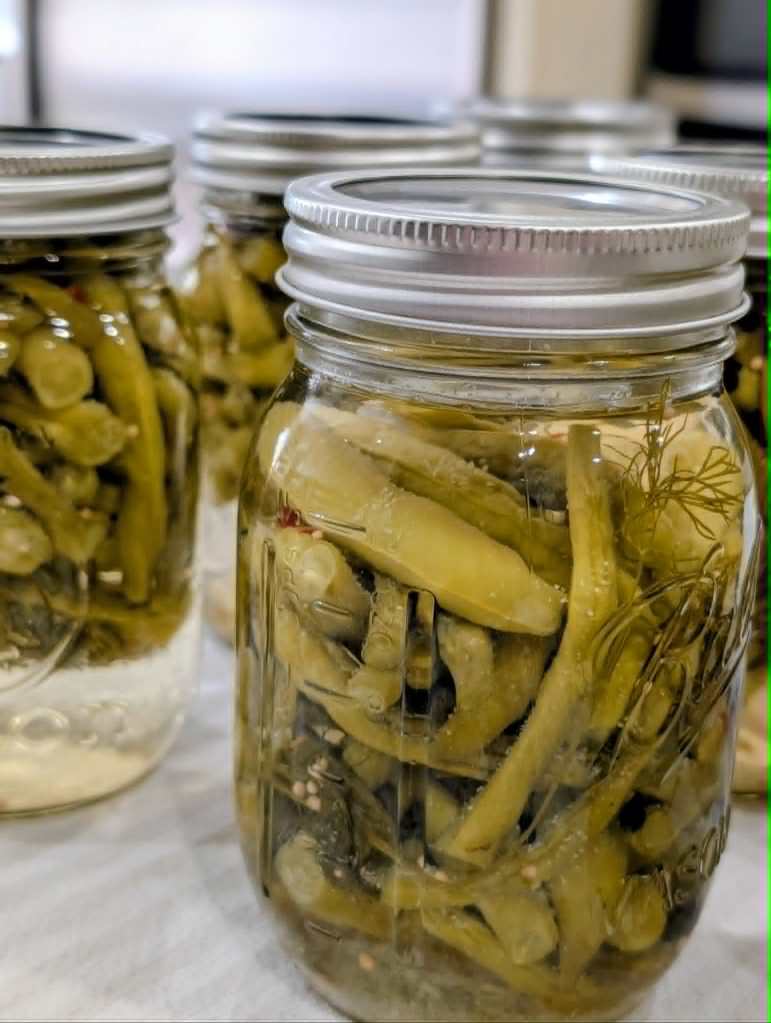
Now it’s time to place beans into each jar lengthwise, packing them in tightly but not crushing them. The string beans should stand upright in the jar, creating that classic dilly bean appearance.
Dilly Beans Recipe
Ingredients:
4 pounds fresh green beans, trimmed
2 1/2 cups white vinegar
2 1/2 cups water
1/2 cup canning salt
8 garlic cloves, peeled
8 sprigs fresh dill
2-12 tsp FarmHouse Teas Pickling Spice (1/4 to 1 1/2 tsp per jar)
Instructions:
- Wash beans and trim ends. Cut or snap to fit your jars if needed.
- Sterilize 8 pint jars and prepare lids according to manufacturer directions.
- In a small saucepan, combine vinegar, water, and salt. Bring to a boil.
- Place 1/4-1 1/2 tsp pickling spice in the bottom of each jar.
- Add 1 clove of garlic and 1 sprig of fresh dill to each jar.
- Pack beans vertically in jars.
- Pour hot brine over beans, leaving 1/2 inch of headspace.
- Remove trapped air bubbles with a plastic knife.
- Wipe rims clean with a clean paper towel.
- Apply lids and bands finger-tight.
- Process in a boiling water bath for 10 minutes, adjusting processing time for altitude if needed.
- Turn off the heat and allow the jars to cool for 5 minutes before removing them.
- Remove jars and let cool on the countertop for 12-24 hours.
- Check seals before storing in a cool, dark place.
Processing Your Dilly Beans
Pour the hot brine into each packed jar, leaving a 1/2-inch headspace. This space is crucial for proper sealing. Run a plastic knife around the inside of each jar to release any trapped air bubbles.
Carefully wipe the rims of the jars with a clean paper towel dipped in hot water. Any residue on the rim can prevent proper sealing. Apply the lids and secure them with the bands, finger-tight. Don’t overtighten; the bands just need to hold the lids in place during processing.
Using your jar lifter, carefully load the jars into your briskly boiling canner. Make sure the jars are covered by at least an inch of water. Secure the lid and process for 10 minutes. Processing time may need to be adjusted based on your altitude, so consult home canning guidelines for your area.
Cooling and Storage
After the processing time is complete, turn off the heat and let the jars sit in the water to cool for an additional 5 minutes. This prevents thermal shock. Remove the jars with your jar lifter and place them on a dishcloth on the counter, leaving space between each jar for air circulation.
Let them cool completely overnight; this usually takes 12-24 hours. You’ll likely hear the satisfying “ping” of lids sealing as they cool. The next day, check all of the lids to make sure each is sealed. A properly sealed lid won’t flex when pressed in the center.
At this point, it’s safe to remove the bands for storage. Any jars that didn’t seal properly can be stored as refrigerator pickles. Keep them in the refrigerator for consumption within the next two weeks.
How to Can Dilly Beans Video
Tips for Success
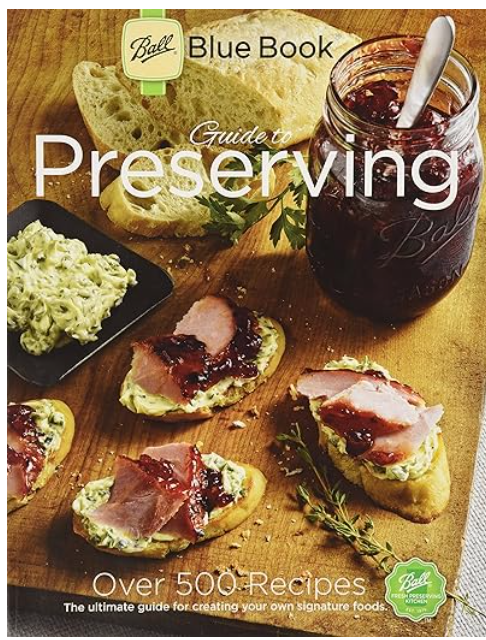
If this is your first time canning, don’t be intimidated. This is truly an easy recipe that yields consistent results. The best way to ensure success is to follow tested recipes from reliable sources like the Ball Blue Book.
For a small batch, you can halve this recipe. You can also experiment with adding black peppercorns, mustard seeds, or coriander seed to customize the flavor. Some people like to add sliced medium onion for extra flavor dimension.
Store your sealed jars in a cool, dark place. They’ll be ready to eat in about two weeks, though the flavor continues to develop. Last year, I found that my dilly beans tasted even better after a month of storage.
To learn more about canning, be sure to check out “Preserving Memories: A Guide to Safe Canning for Beginners”.
Serving Suggestions
These crunchy, tangy beans are incredibly versatile. Enjoy them straight from the jar, or add them to a charcuterie board. They make an excellent side dish for grilled meats and are perfect for bringing to potlucks.
Many people discover that once they try homemade dilly beans, the grocery store versions just don’t compare. There’s something special about opening a jar of something you preserved yourself, knowing exactly what went into it.
Why This Recipe Works
Using a tested recipe from the Ball Blue Book ensures food safety. The combination of vinegar, salt, and heat processing creates an environment where harmful bacteria cannot grow. This isn’t just about taste; it’s about preserving food safely for your family.
The addition of FarmHouse Teas Pickling Spice elevates this from a basic green bean recipe to something truly special. The organic spice blend adds complexity and warmth that complements the dill flavor perfectly. At just 1/4 tsp per jar, a little goes a long way, making it an economical choice too.
Whether you’re an experienced home canner or trying this for the first time, dilly beans are a great way to start preserving. They’re forgiving, delicious, and will have everyone asking for your secret. Now you know, it’s all about using quality ingredients and that special pickling spice blend. Happy canning!
Affiliate Disclosure:
This post contains affiliate links. That means I may earn a small commission, at no extra cost to you, if you make a purchase through one of these links. You can read the full disclosure [here]. Your support helps cover the cost of running Vintage Virtues and means so much.

Leave a comment