
A couple of years ago, I shared our experience with processing chickens in Beginner’s Guide on How to Process Chickens at Home. This year, we had the opportunity to join friends at their homestead to process turkeys, and I’m excited to share what we learned. If you’re considering raising turkeys or processing your own birds for the first time, this guide will walk you through the entire process from start to finish.
Our Turkey Processing Experience
Unlike our chicken processing day, when we culled and processed 18 chickens over 7 hours, this turkey processing session was much more manageable. We met with friends who raise turkeys on their homestead, and we processed 4 turkeys in about 3 hours. While I was hands-on with the chickens the first time around, this time I documented much of the process while the men did the physical work of culling and processing.
Processing your own poultry offers several benefits that you can’t get from a grocery store turkey. It’s incredibly reassuring to know that these turkeys were well cared for throughout their lives and fed nourishing feed. They were free from factory-farming practices, overcrowding, artificial chemicals, injections, and chlorine dips common in commercial operations. During processing, we used gentle, quick procedures to minimize suffering, and we thoroughly inspected each carcass to ensure the healthiest meat possible for our families.
In a time when food security is becoming even more important, it’s reassuring to know exactly where our food comes from and how it’s handled. It was also a wonderful opportunity to learn traditional skills that haven’t been passed down. Being part of the process creates a meaningful connection at a time when so many people are disconnected from the realities of farming and food.
Why Consider Raising Turkeys
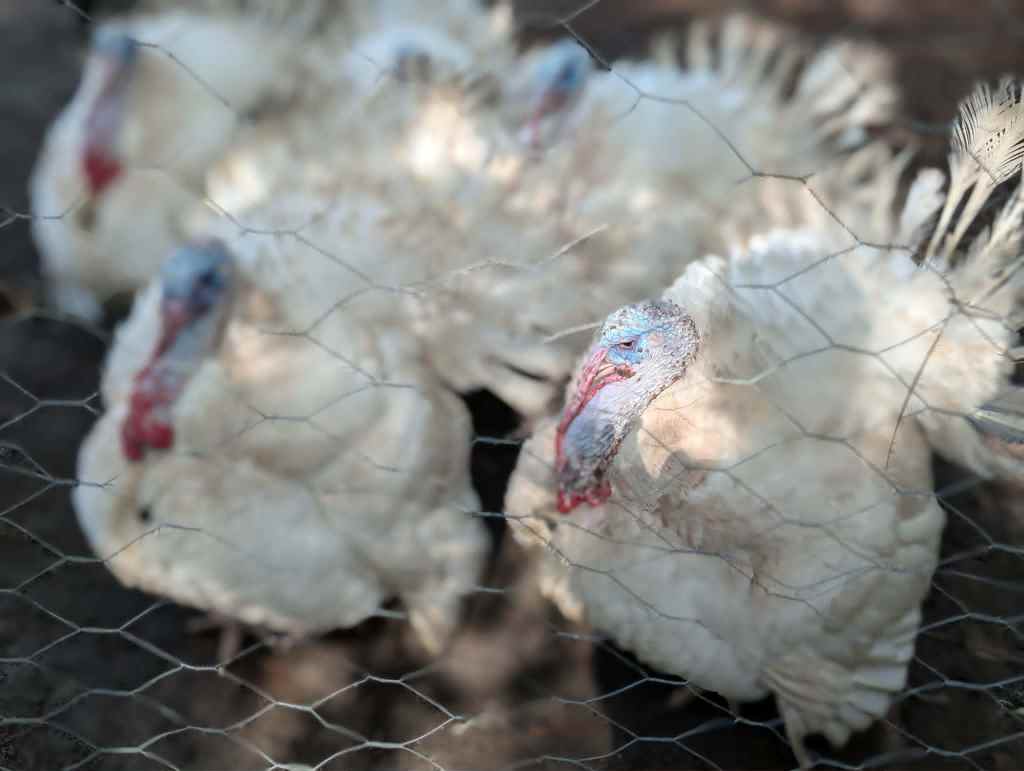
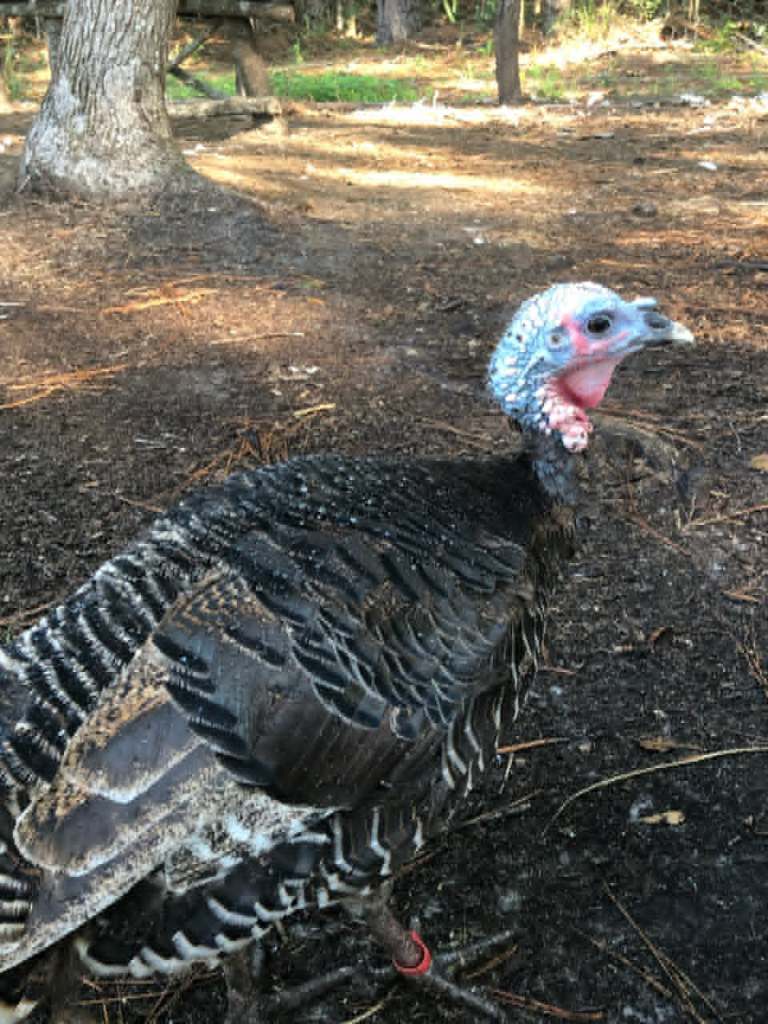
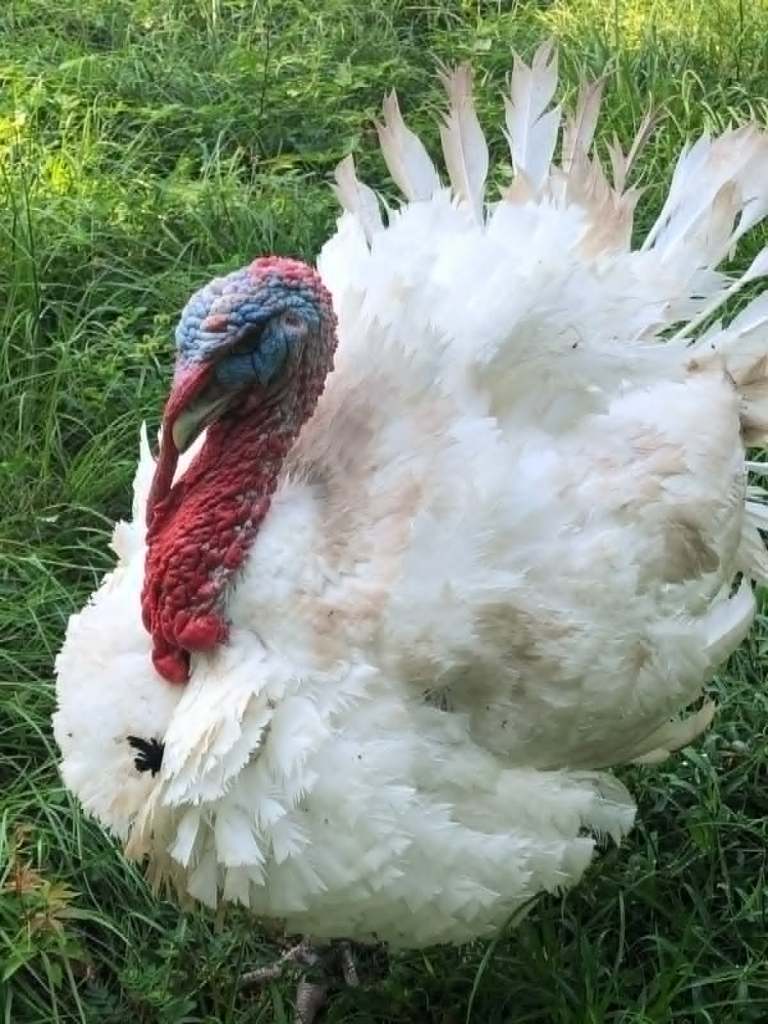
When our friends acquired their turkey poults, they purchased White Holland Heritage and Bronze Heritage varieties. However, because of the rapid growth and characteristics of the white turkeys, they learned they had actually received Broad-breasted White Turkeys. These turkeys are like the Cornish-cross of chickens: a quick-growing turkey with massive breasts, found in most grocery stores. Their rapid growth means they can’t mate because they’re too large.
Heritage turkeys grow more slowly, which may seem like a disadvantage when cranking out large quantities of Thanksgiving turkeys. However, heritage breeds are also more self-sufficient and can reproduce naturally, making them a sustainable choice for homesteaders.
When to Process Your Turkeys
Most people who raise turkeys for meat aim to process them in early fall, particularly before Thanksgiving. If you order turkey poults in early spring, heritage breeds will typically be ready for processing in the following fall, around 24-28 weeks of age. Broad-breasted turkeys grow faster and can be ready in 14-18 weeks. Broad-breasted turkeys grow faster and may be ready earlier, but as mentioned, many homesteaders prefer the heritage varieties despite the longer wait.
The age you process them affects the final product. Younger birds are more tender, while older birds develop more connective tissue, making them better suited to slow-cooking and stew methods that break down the tissue for a more tender result. A female turkey, also called a hen, will generally be smaller than a male, or tom, of the same age. The Broad-Breasted Turkeys we processed were five months old, all male toms.
Essential Equipment and Setup
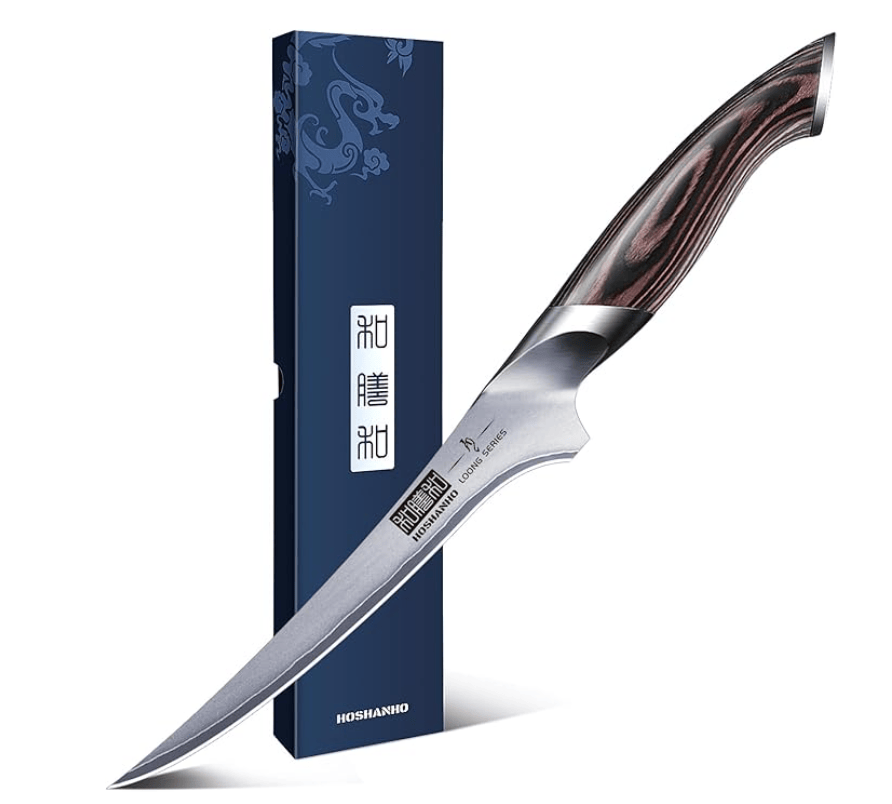
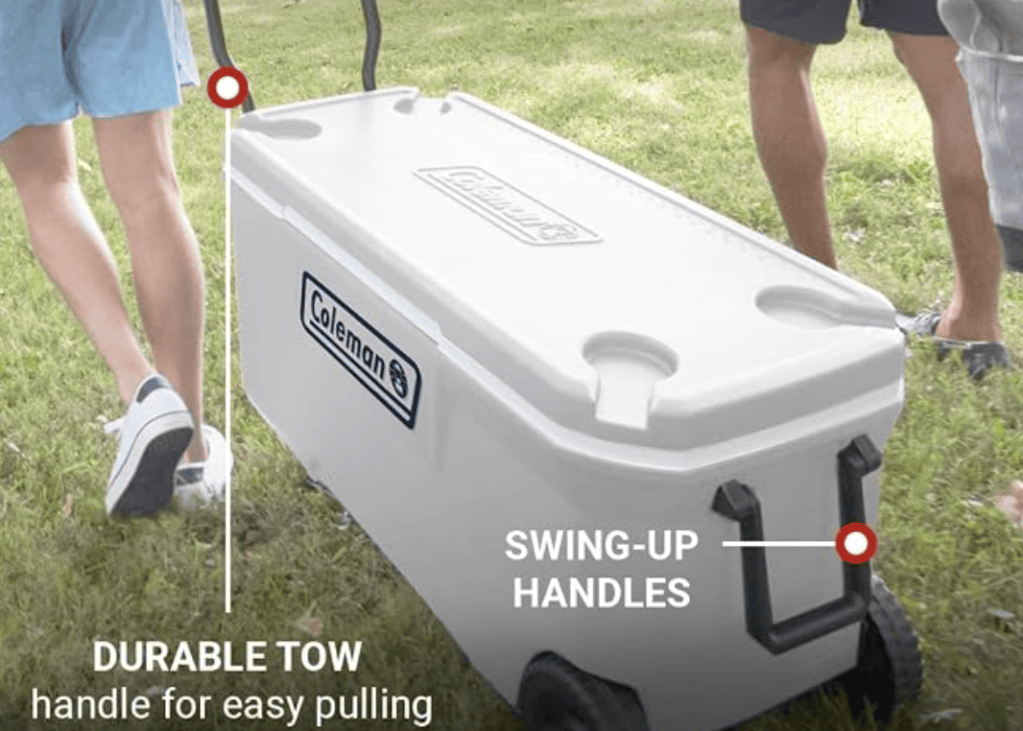
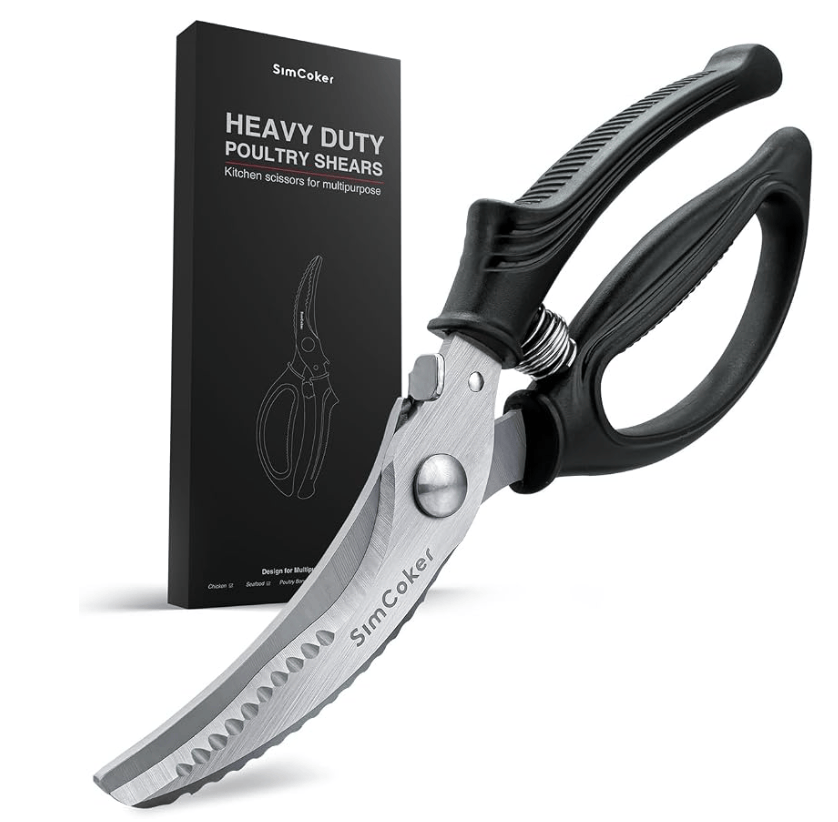
Tools You’ll Need:
Before processing day arrives, gather all your equipment. Here’s what we used and recommend having on hand:
- A knife with a sharp blade is essential; dull blades make the work harder and more dangerous.
- Poultry shears help cut through joints and bones, especially when removing feet and wing tips.
- An ice chest or large cooler filled with cold water and ice for the final chill bath.
- Shrink wrap, plastic bags, or freezer paper for packaging the finished birds.
- Latex gloves, if desired, to maintain sanitation and protect your hands.
- A large propane-fueled stock pot and propane tank for heating the scalding water.
- Bleach for cleanup and disinfecting surfaces afterward.
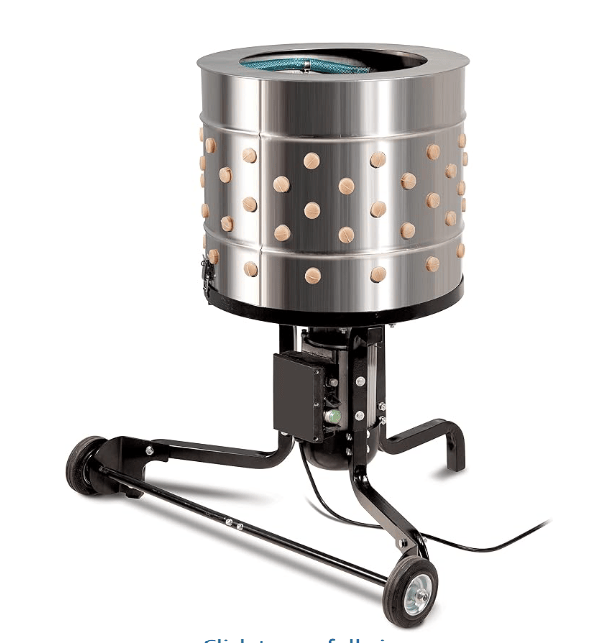
- A plucker drum isn’t necessary, but it’s incredibly helpful to speed up the process. Hand-plucking a whole turkey takes more time than using a mechanical plucker.
- Use a clean water source to rinse birds thoroughly.
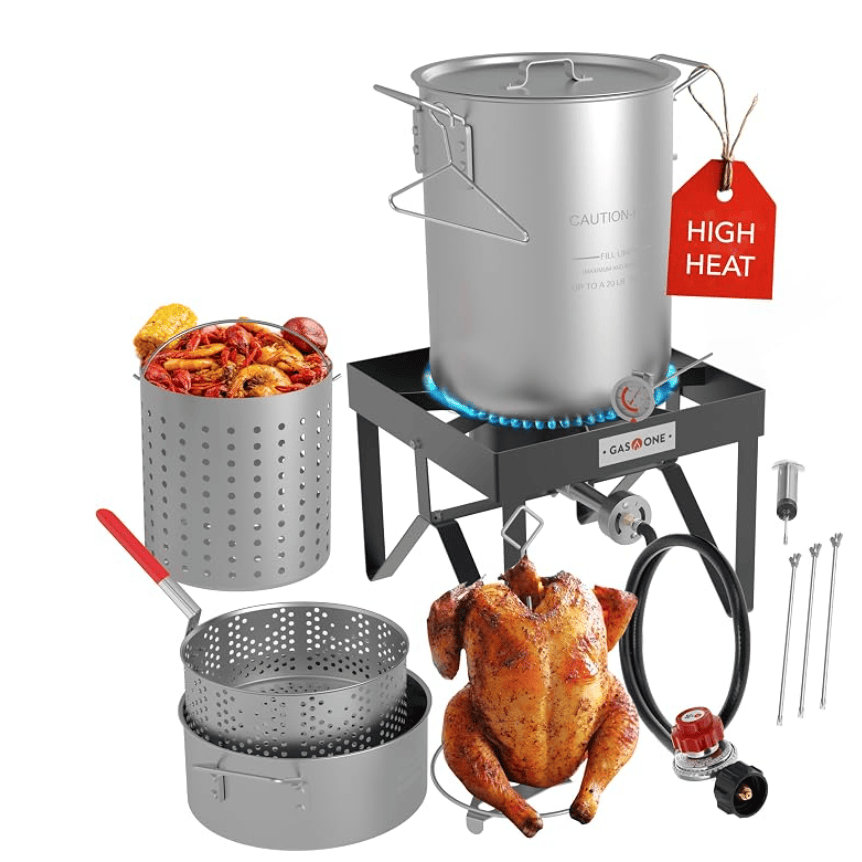

Setting Up Your Stations
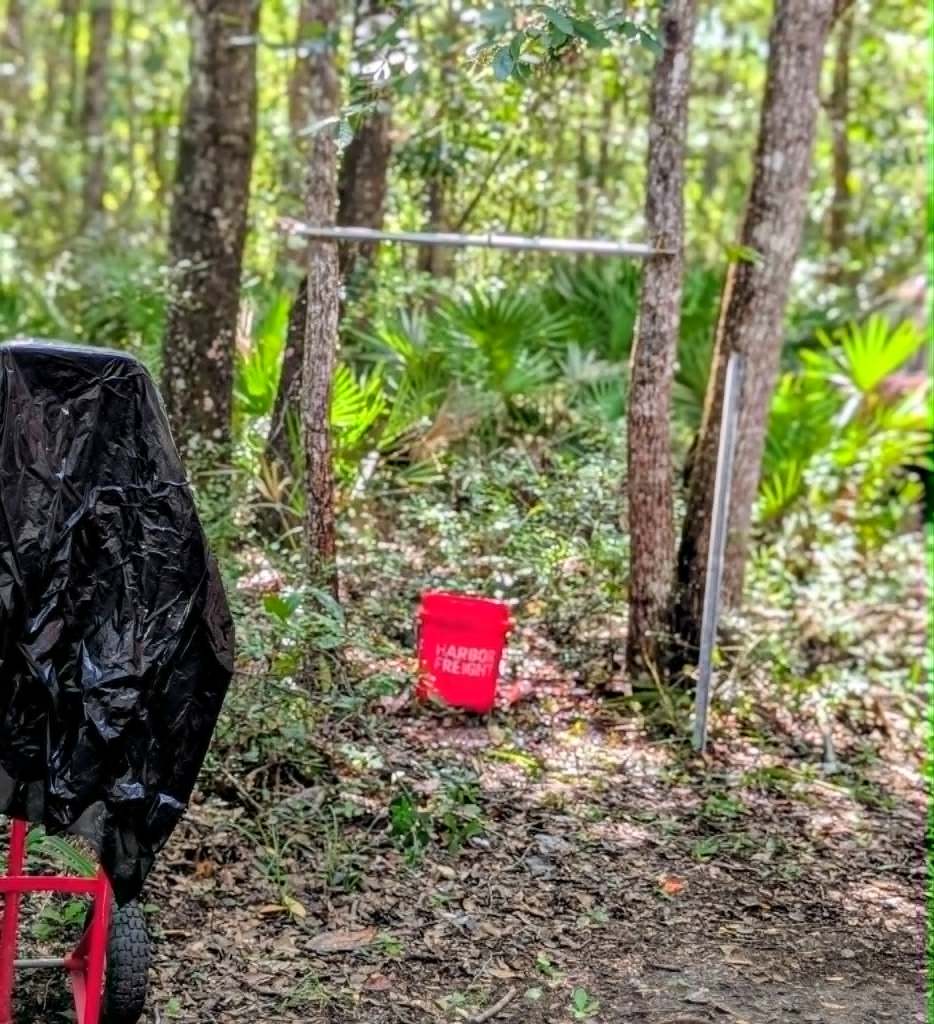
Organization is the key to an efficient processing day. Our friends set up five distinct stations, which kept the workflow moving smoothly:
Station 1: Slaughtering Station – This is where the live poultry is set up to be dispatched for processing.
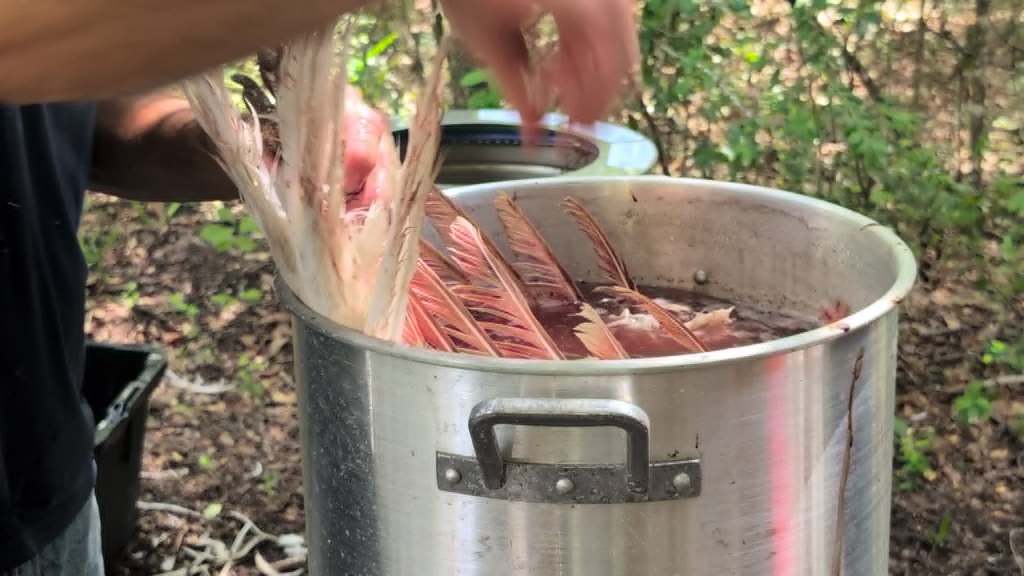
Station 2: Water Scalding Station – The large pot of hot water for disinfecting and loosening feathers.
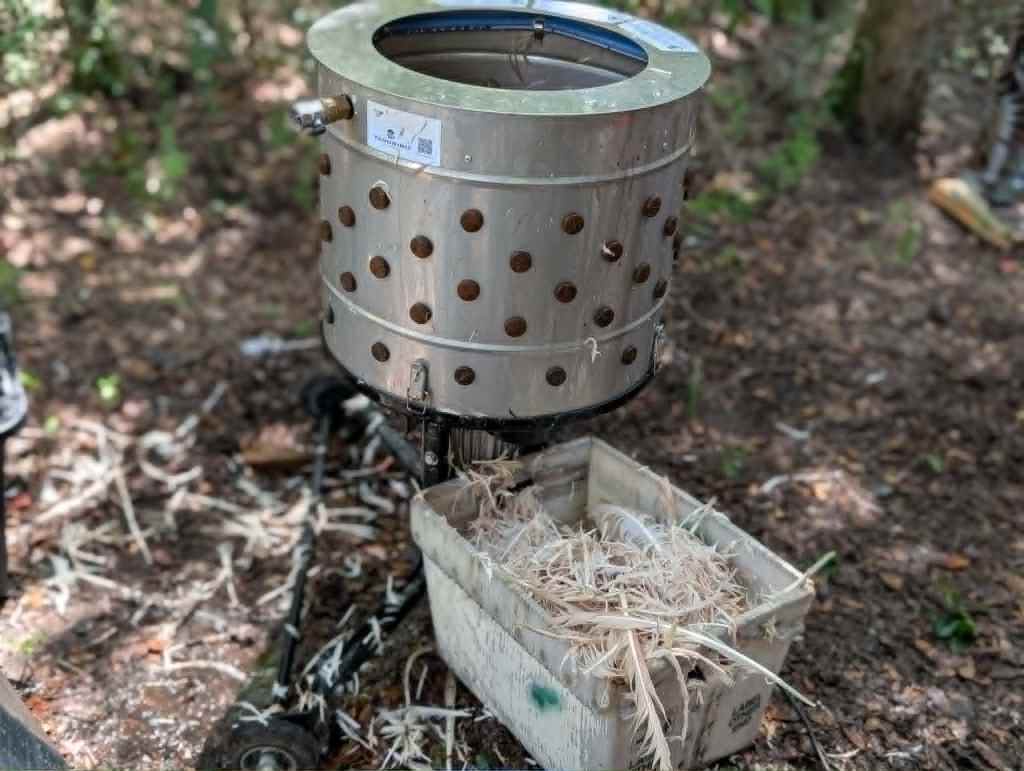
Station 3: Mechanical Drum Feather Plucker – If you have one, use this to remove feathers after scalding.
Station 4: Processing Station – This is where you eviscerate and do detailed cleaning. You’ll need a clean surface, fresh water for rinsing, and all your cutting tools.
Station 5: Ice Bath Cooler – The final station where processed birds chill down to a safe temperature.
Clearly defining and spacing these stations makes the whole process much more manageable. It’s also a good idea to assign someone to each station, or at least create a clear flow so birds move efficiently from one stage to the next.
Step-by-Step Turkey Processing
First Step: The Slaughtering Process
This is the most difficult part for many people, especially those doing it for the first time. Approach this step with respect for the animal, thanksgiving to the Lord, and a commitment to doing it as humanely as possible.
The method of slaughtering we used involved cutting the carotid artery, which is considered the most humane way to slaughter poultry. Some people use a kill cone, which is a cone-shaped restraint that holds the bird upside down with its head protruding from the bottom. These turkeys were placed upside down, which actually calms them, as the changed blood flow lulls them into a sleep-like state.
Using a very sharp knife, the main artery was quickly sliced through. This is done with one swift, deliberate cut. The birds were left for about a minute to ensure thorough drainage. This complete bleeding out is crucial for several reasons.
In Genesis 9:4, it is stated that an animal should not be eaten with its lifeblood still in it. Acts 15 reiterates this, instructing believers to abstain from the blood in meat. Blood represents life and carries pathogens. Even scientists and the USDA confirm that consuming raw or undercooked meats may increase the risk of foodborne illness, proving the wisdom of these ancient commandments.
Beyond the biblical instructions, proper bleeding also improves meat quality and shelf life. Blood left in the meat can cause off-flavors and faster spoilage.
The first thing many people notice is how much more substantial a turkey is compared to a chicken. Be prepared for this difference. A mature heritage turkey can weigh 15-25 pounds live weight, while broad-breasted varieties can exceed 30-40 pounds. This extra size means everything takes a bit longer and requires more strength.
Scalding and Plucking
After the turkeys were slaughtered and properly bled out, they were moved to the next station for scalding, then plucking. Water temperature is critical here. The propane-fueled large pot was heated to a scalding temperature and maintained at 140 degrees Fahrenheit.
Repeatedly dunk the whole bird for about 15-20 seconds. You’ll develop a feel for when it’s ready. The feathers should pull out easily when you test them. This process kills bacteria on the skin surface and also loosens the feathers for plucking. Be careful not to scald too long or at too high a temperature, as this can start to cook the skin or cause it to tear during plucking.
For easier feather removal, we utilized a mechanical plucker. This drum plucker massively sped up what would have been a tedious process of hand-plucking feathers. Even with a plucker, turkey feathers are larger and sometimes more stubborn than chicken feathers, so you may still need to do some hand-finishing, particularly around the wings and thigh joint areas.
If you’re only processing one or two birds and don’t want to invest in a plucker, hand-plucking is certainly possible; but plan for it to take longer.
Evisceration and Cleaning
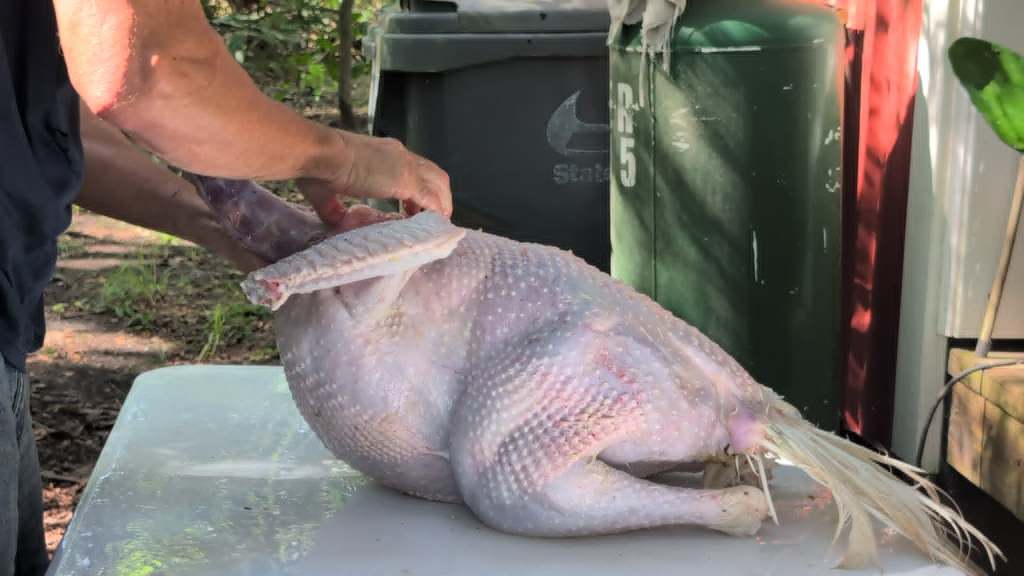
Once the turkeys were fully de-feathered, they moved to the processing station. This is where attention to detail really matters for both food safety and meat quality. The first cuts removed the turkey’s neck, wing tips beyond the first joint, tail, and feet at the hock joint. You can save these parts for stock, if desired.
Next, open the body cavity to remove the internal organs. This requires careful work. A small hole is cut near the vent (the bird’s posterior opening), being very careful not to puncture the intestines. From this initial cut, you’ll extend the opening to access the entire body cavity.
Carefully remove each turkey’s internal organs. You’ll pull out the heart, liver, kidneys, gizzard, lungs, intestines, crop, and all connective tissue. The most sensitive areas are the gallbladder and bile duct, as these contain waste with higher levels of bacteria. If the gallbladder breaks, it will release bile that can make the meat bitter and potentially unsafe. You’ll also need to remove the oil gland near the tail. If you leave it on, this gland can impart off-flavors to the meat. Make a small cut to remove it completely.
Some people save the heart, liver, and gizzard as giblets. Split the gizzard open and clean it thoroughly, removing the tough inner lining and any feed or grit inside. If you’re not comfortable with this, it’s perfectly fine to discard all the organs, or compost them, which our friends did.
At the neck end, you’ll need to remove the crop (where the bird stores food before digestion) and the windpipe. Reach into the front cavity and pull these out, along with the neck if you’re removing it entirely. Some people leave the neck attached to roast the turkey whole, while others remove it for stock.
Throughout this process, frequently rinse the bird inside and out with clean water. Check carefully for any remaining organs, feather shafts, or debris. The body cavity should be completely clean.
The Ice Water Bath and Overnight Soak
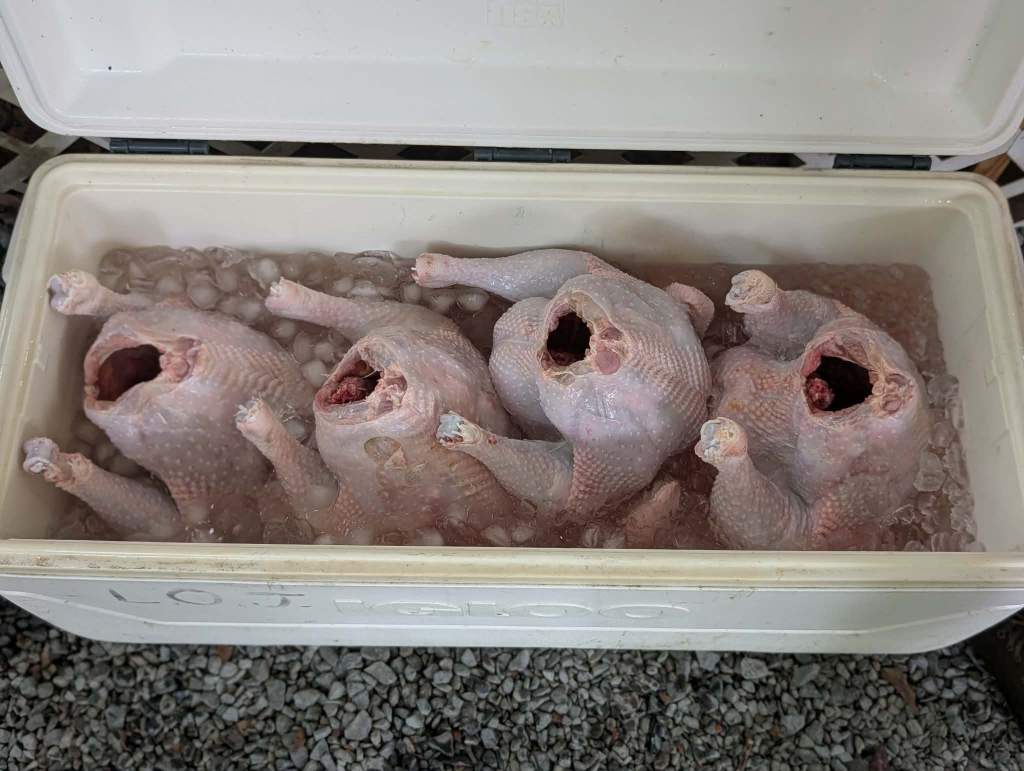
After thorough rinsing, place the turkeys in an ice-water bath to soak. This step is crucial for food safety and meat quality.
Leaving freshly processed turkeys in an overnight ice bath serves multiple purposes. First, it relaxes the muscles and prevents the meat from becoming tough. Second, it drops the internal temperature below 40 degrees Fahrenheit before packaging, which is essential for food safety. Third, it lets the meat age slightly, improving tenderness and flavor.
According to the University of Minnesota Extension, maintain heavy ice coverage when holding the birds overnight, typically 12 to 24 hours, to properly tenderize the meat through aging. Ensure the water remains cold and sanitary throughout this period. You may need to add more ice periodically, especially if processing during warmer weather.
For best results, keep the ice water bath at a consistent temperature. Check it periodically and add ice as needed. The water should remain at or below 40 degrees Fahrenheit at all times.
Final Steps Before Packaging
Before packaging, hang or position the birds to drain for 10-15 minutes to remove excess liquid. This prevents ice crystals and freezer burn if you’re planning to freeze the birds, and it makes for a cleaner package regardless of whether you’re freezing or refrigerating.
Since our birds needed the overnight soak before packaging, our friends handled the rest of that process, and we headed home.
After draining, you can package the turkey whole or cut it into smaller pieces, depending on your preference and how you plan to cook it. For a whole turkey, shrink wrap it in plastic bags designed for poultry, or use freezer paper with the butcher’s wrap technique.
If you’re cutting the turkey into smaller pieces, you’ll separate the breast meat from the bone, remove the thighs and drumsticks at the joints, and separate the wings. This gives you more flexibility in cooking and can help fit the meat into your freezer more efficiently. A 20 lb turkey, broken down, takes up considerably less space than storing the whole bird. Label each package with the date and contents.
For proper storage, keep raw poultry refrigerated at or below 40 degrees Fahrenheit if you plan to cook it within a few days. For longer storage, freeze at 0 degrees Fahrenheit or lower. Properly frozen turkey can maintain quality for up to a year, though it’s best used within six months for optimal flavor and texture.
Different Ways to Use Your Turkey
One of the benefits of processing your own turkeys is having enough meat to experiment with different preparations. A whole turkey is traditional for holiday meals, of course, but there are many other options for year-round.
Breast meat is lean and mild, perfect for roasting, grilling, or even making cutlets. The thighs and drumsticks have more fat and flavor, ideal for slow roasting, braising, or smoking. Ground turkey made from home-processed birds tastes better than store-bought ground turkey and is excellent for everything from burgers to meatballs to chili.
Don’t overlook the value of the bones and carcass for making stock. Turkey stock is rich and flavorful, perfect for soups and gravies. Simmer the carcass with vegetables, herbs, and a splash of vinegar (which helps extract minerals from the bones) for 6-12 hours. Strain, cool, and freeze in portions for later use.
Food Safety Best Practices
Whether you’re processing chickens, turkeys, or any other poultry, food safety should be your top priority. Here are some essential practices to follow:
Maintain Cleanliness
Thoroughly sanitize all surfaces, equipment, and hands before and after handling raw poultry. Start with clean equipment and refresh your sanitizing solutions regularly throughout the day. Bleach solution or commercial sanitizers designed for food processing are the best options.
Between birds, clean your work surfaces and rinse tools. At the end of the day, thoroughly clean everything with hot, soapy water, then sanitize. This prevents bacteria from one bird contaminating the next and keeps your processing area safe for future use.
Temperature Control
Keep raw poultry refrigerated or iced at or below 40 degrees Fahrenheit until ready to process. During processing, move birds through the stations efficiently to minimize time at room temperature.
The ice water bath is critical for bringing the internal temperature down quickly after processing. Don’t skip this step or try to package birds that are still warm. A properly chilled bird is safer and will have better texture.
Proper Cooking
When it’s time to cook your turkey, make sure it reaches an internal temperature of 165 degrees Fahrenheit to kill harmful bacteria. For the most accurate reading, insert a meat thermometer into the thickest part of the thigh without touching bone.
Even if you’ve processed the bird perfectly, proper cooking is your final safeguard for food safety. Don’t rely on cooking times alone, as variables like oven temperature accuracy, bird size, and whether the bird is stuffed all affect cooking time. Always use a thermometer.
Comparing Turkeys to Chickens
Having processed both chickens and turkeys at home, I can offer some perspective on the differences.
Turkeys are obviously much larger, which means each step takes longer, but you get significantly more meat per bird. The four turkeys’ final weights ranged from 23 to 30 pounds, for a total yield of 107 pounds. At an average weight of 8lbs each, it would take 13 chickens to produce the same total as the four turkeys. For families doing the work, that efficiency matters.
The basic process is the same, but everything is scaled up. You need a larger pot for scalding, a larger cooler for the ice bath, and more strength for handling the birds. The evisceration process is similar, but working in a larger body cavity actually makes some steps easier. Turkeys have thicker skin and larger, tougher feathers than broiler chickens, and their size also makes the process more challenging.
Tips for Your First Time
If you’re considering processing turkeys for the first time, here are some final pieces of advice:
Start by getting help from someone with experience. We were blessed to work with friends who had processed turkeys before. Having that guidance made the day much smoother and less stressful.
Don’t try to process too many birds your first time. Four turkeys in three hours was manageable and let the men work carefully without rushing. Trying to do a dozen birds your first time could be overwhelming, but many hands make lighter work when it comes to chickens.
Gather all your equipment beforehand and set it up the day before if possible. The only thing worse than not having something you need is realizing you don’t have it when you’re halfway through a bird.
Have extra ice on hand. You’ll likely use more than you expect, and running out during the ice bath stage could compromise food safety. We brought a chest with 20 pounds of ice, plus six additional 7-lb bags (62 pounds to start). Our friends added additional ice immediately after processing and throughout the soaking period.
Cleanup plan. You’ll be tired at the end of processing day, but proper cleanup is essential. Build in time for this and don’t try to rush it.
Consider the season. Early fall or late fall, when temperatures are cool, makes the whole process more comfortable and safer from a food safety standpoint.
Remember that the first bird always takes the longest. By the time you’re on your second or third bird, you’ll have developed a rhythm, and everything will go faster. Be patient with yourself. Every new skill has a learning curve.
Looking Ahead
Our turkey processing experience was educational and rewarding. The smaller number of birds and slower pace allowed for focus on doing each step well rather than just trying to get through the volume.
Whether you’re interested in raising turkeys, processing them, or both, I hope this guide has given you a realistic picture of what’s involved. It’s work, certainly, but it’s manageable and offers significant benefits.
In a world where most people are completely disconnected from where their food comes from, choosing to process your own poultry is a radical act of self-sufficiency. We’re recovering lost skills and traditions. Whether you process one turkey for Thanksgiving or raise and process birds year-round, you’re participating in something important. May your processing days be productive, your meat be healthy and delicious, and your homestead continue to provide for your family’s needs.
If you enjoyed this article, you’re sure to enjoy our other related articles on Chicken Processing and Deer Meat Recipes. Just click on the links, or images below.

Affiliate Disclosure
This article contains Amazon Associate affiliate links. Qualified purchases from these links are appreciated and help offset the blog’s operating costs at no additional cost to you. Thank you for your support. For full disclosure, click here.


Leave a Reply