
This article has moved!
You can now find the updated and fully formatted version of this recipe on my new site, Gluten-Free Heritage — where I’m sharing all my favorite + new recipes made with fresh-milled, gluten-free grains.
👉 Click here to view the full recipe: Making Gluten-Free Sourdough with Freshly Milled Flour – Gluten Free Heritage
Bread-Baking Journey and Sourdough Experiment
Bread baking is a tradition in our family, and it’s also a focus here at the Vintage Virtues blog. Over the years, our family has transitioned from boxed mixes and store-bought white flour to cooking from scratch and baking with fresh milled flour.
Discovering Our Love for Baking
Discovering Our Love for Baking
We began with simple boxed mixes, then graduated to scratch-made recipes using store-bought flours. I became a loyal user of King Arthur Flour—until I discovered Azure Standard’s all-purpose white flour. That was a game-changer.
Azure’s flour quickly became a staple in our kitchen. Truly, it makes the best, lightest, fluffiest baked goods. It fueled our (okay, mostly my daughter’s and mine) baking obsession. From sandwich bread to challah, biscuits to muffins, we made it all from scratch—many of those recipes now live in our Mom’s Diner section on the blog. My daughter even ventured into sourdough, and before long, we were buying Azure flour in 25-pound bags each month!
She made a beautiful loaf of sourdough, and we all miss her baking days.


Enter Fresh-Milled Flour
Eventually, we took a class and learned about the benefits of fresh-milled, whole grain flour. We were shocked to discover that most store-bought flour is essentially “dead,” lacking the nutrients found in freshly ground wheat. We researched Sue Becker’s work, and it convinced us to make the switch.
So, we invested in a grain mill and started buying wheat berries (especially Azure’s soft white wheat) to grind at home. Given the amount we baked, it was a cost-effective approach. Freshly milled flour also has a superior nutritional value compared to grocery store flour. We began to feel confident in our fresh-milled creations and even better about the health benefits.
A Diagnosis That Changed Everything
Then came a curveball. My son, who had been struggling with ADHD, stomachaches, and migraines, underwent allergy testing, and the results showed that he was allergic to both wheat and gluten.
To say I felt terrible would be an understatement. We had been going through 25 pounds of wheat a month!
I immediately made changes. My daughter dehydrated her sourdough starters. I sealed our wheat berries in long-term storage buckets and removed gluten-containing wheat, barley, and rye products from our pantry.
I also have Autoimmune Hashimoto’s, and a few practitioners have recommended a gluten-free diet for managing it. So, I decided to switch our whole household to gluten-free cooking—not because everyone needs to avoid gluten, but because cross-contamination is real, and I wanted my son to feel supported.

Starting Fresh: Gluten-Free and Fresh-Milled
Now, my husband and daughter still enjoy gluten on occasion, but our homemade meals are gluten-free.
At this crossroads of fresh-milled nutrition and gluten-free necessity, I realized that there weren’t many resources that combined both. So, I started the Fresh Milled | Gluten Free Facebook group to share recipes, ideas, and create a community.
Since then, I’ve experimented with:
- Gluten-free pizza crusts and naan
- Recreated our family brownie recipe
- Millet dinner rolls that double as burger buns
- And more…
But there was one thing that still felt daunting: Gluten-Free Sourdough.
Gluten-Free Sourdough: The First Attempt
My first attempt to make a gluten-free sourdough starter from scratch was a total bust. I followed all the instructions to the letter and…nothing.
Gluten-free sourdough starters are known to be finicky. Room temperature, nutritional content of flour, and even the presence of wild yeast in your environment all make a difference in sourdough baking.


The Game-Changer: NWF Starter
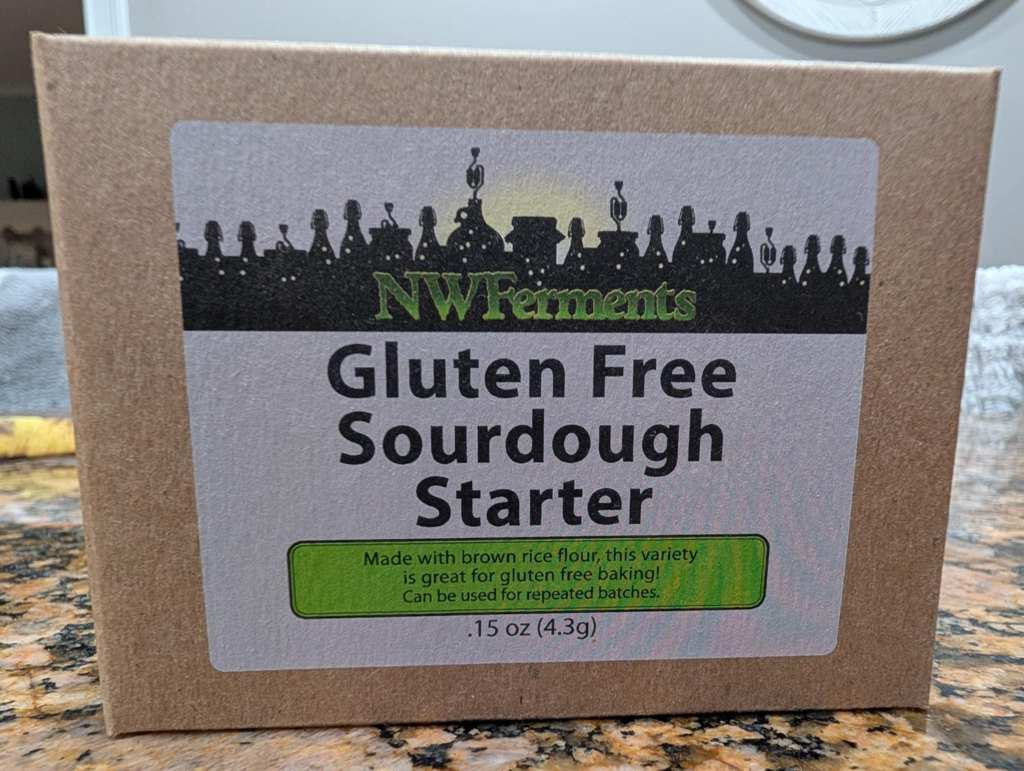
After the failed attempt, I decided to try a pre-made starter and purchased the NWF Gluten-Free Sourdough Starter through Azure Standard. I emailed them for tips and asked which fresh-milled flours worked best.
They replied quickly with a few key pieces of advice:
- Stir frequently while activating to encourage the fermentation process.
- Don’t skip feedings—but also don’t overfeed.
- Use only ground grain (no additives) for your starter.
- Any gluten-free flour can work, as long as it’s clean and straightforward.
That last point hit home—my failed starter had used a blend with added ingredients, which likely interfered with the fermentation.
They also mentioned that King Arthur’s sourdough recipes work well with their starter. Good to know!
NWFerments GF Sourdough Starter from Azure Standard
Round Two: Sourdough Experiments Begin
Armed with the NWF gluten-free starter and a better understanding of the process, I started Round Two of my gluten-free sourdough starter experiment. I’m excited to share what worked and what didn’t on our journey to sourdough bread.
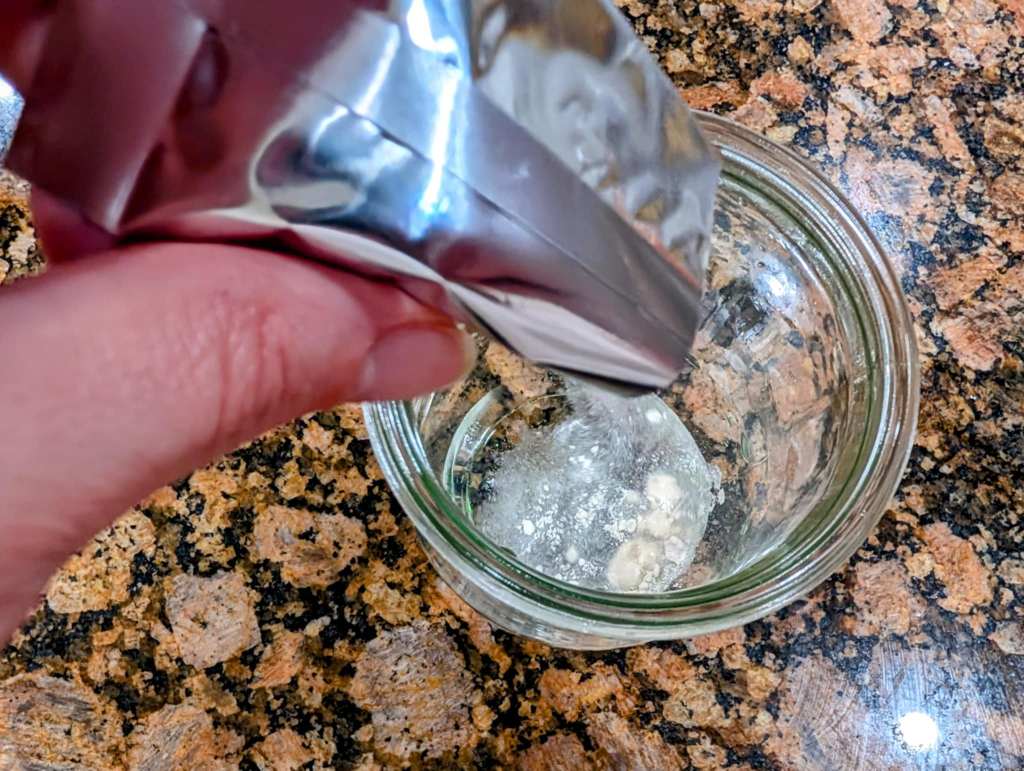
Day 1: Activating the Starter
To begin, I poured the small amount of contents of the dehydrated starter culture into a glass container and added 1/4 cup of water. I stirred in 1/4 cup of fresh-milled brown rice flour. That’s it! The wait began.
Day 2: First Feeding
Twelve hours later, I followed the instructions and fed the starter with two tablespoons (1/8 cup) of water and two tablespoons of brown rice flour. I continued this every 12 hours, maintaining consistency.


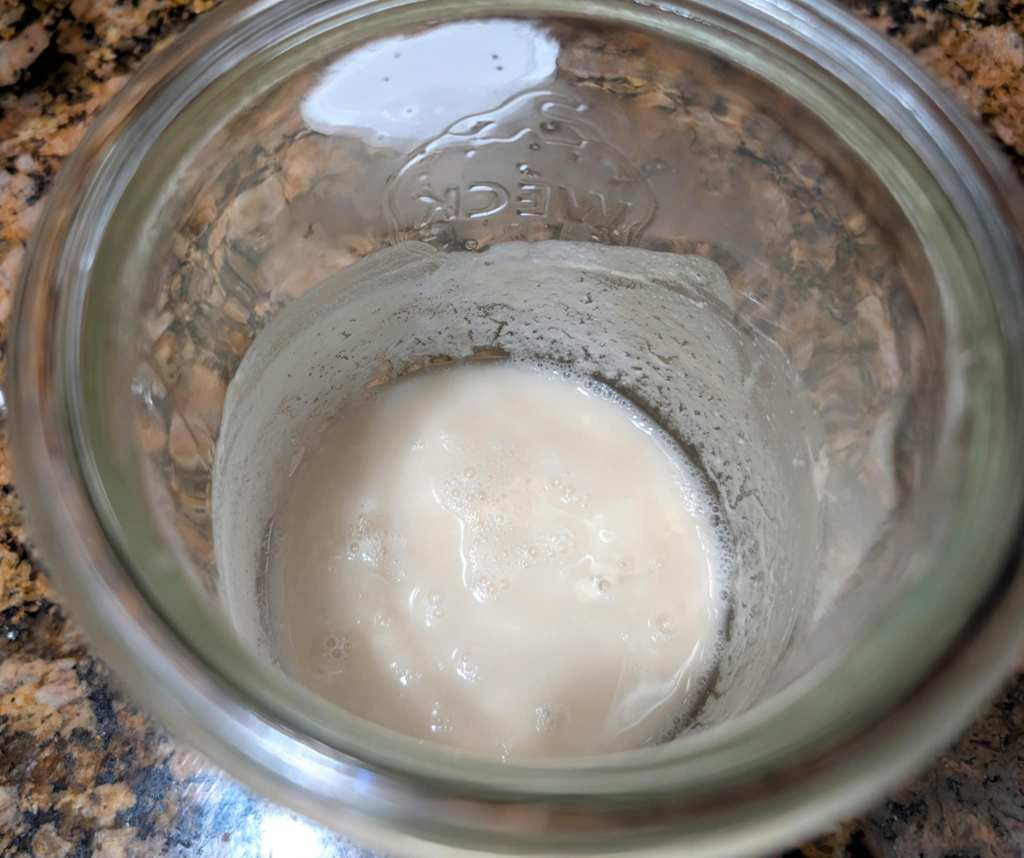
Day 3: Signs of Life
Tiny bubbles started to appear—finally, a sign that the culture was coming to life! It also began developing a slightly tangy, sour aroma. I stuck with the same feeding schedule and amounts.
Day 4: Separation
A thin layer of water had formed on top of the starter. After conducting some research, I discovered that this can indicate excessive moisture. It’s common early on. So, I stirred the water and adjusted the feeding. The goal was to achieve a pancake-like consistency:
- 2 tablespoons (1/8 cup) water
- 1/4 cup brown rice flour
Day 5: More Bubbles
The starter responded well to the thicker consistency; more bubbles appeared. Progress!
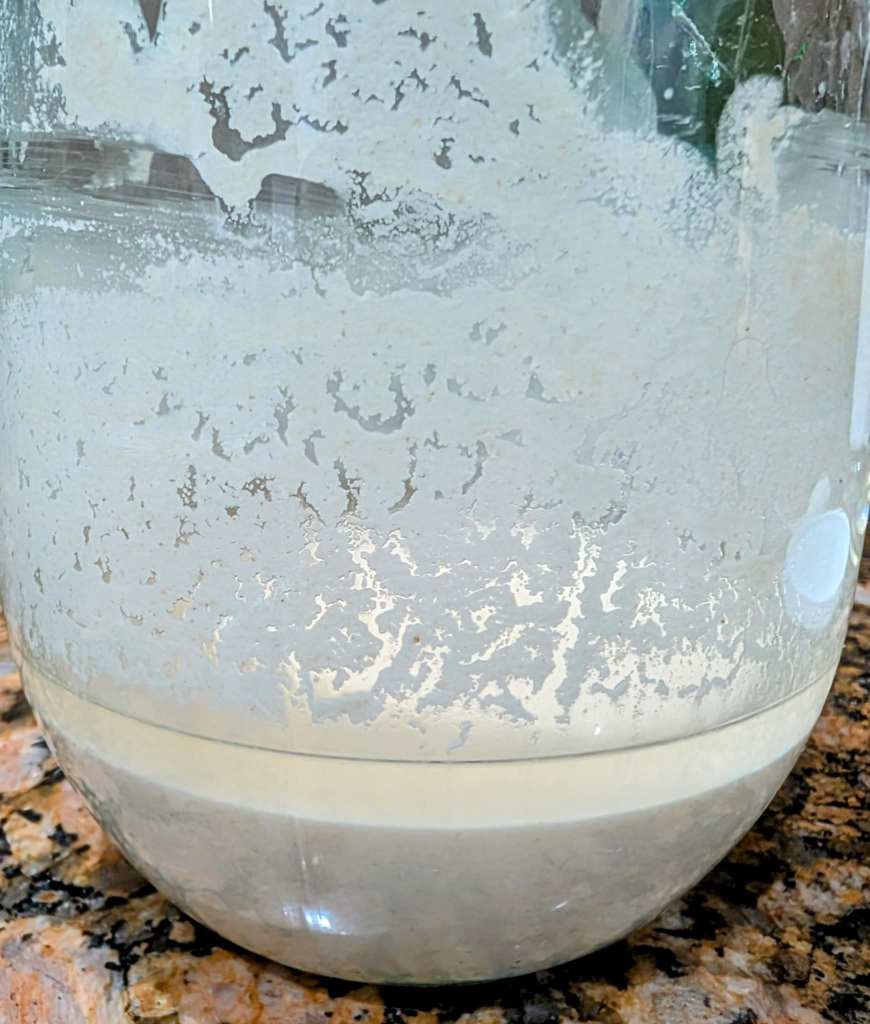

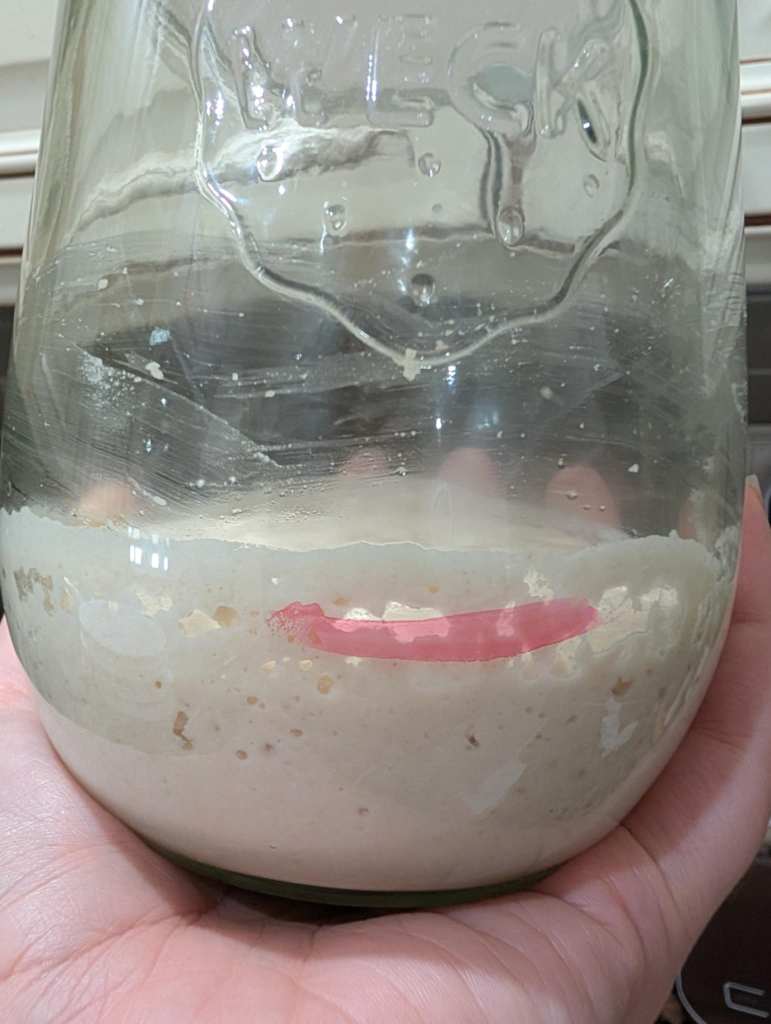
Day 6: Hooch Appears
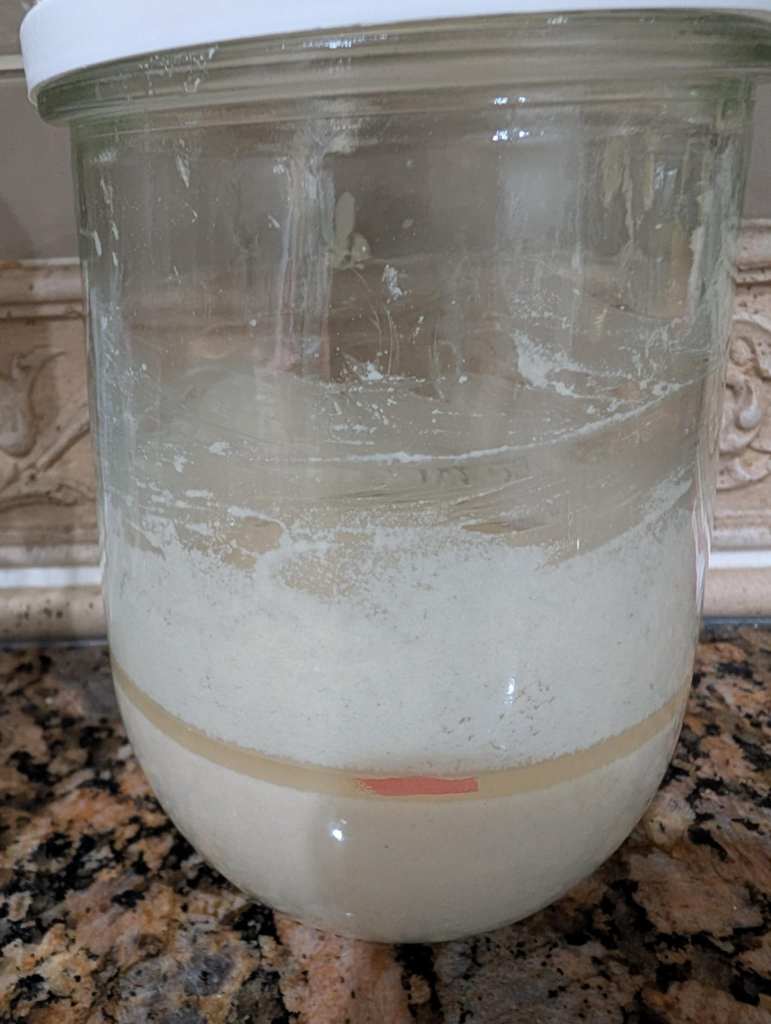
Unfortunately, another layer of separated water formed, and this time it had a light brown color—classic hooch. It appeared not long after feeding, a sign that the starter might be hungry or over-hydrated.
I had marked the jar with a red line to track any rise, but there was little movement—just separation. That’s when I started considering other options.
Time for a Shift
After chatting with my daughter, she suggested switching to measurements in grams and asked about discarding. That led me down another research rabbit hole, and I decided to pivot. I picked up with Let Them Eat GF Cake’s Easy Gluten-Free Sourdough Starter recipe, starting at Day 5 (Step 6).
Here’s what I changed:
- I poured off the hooch instead of stirring it back in.
- I discarded half the starter, as directed.
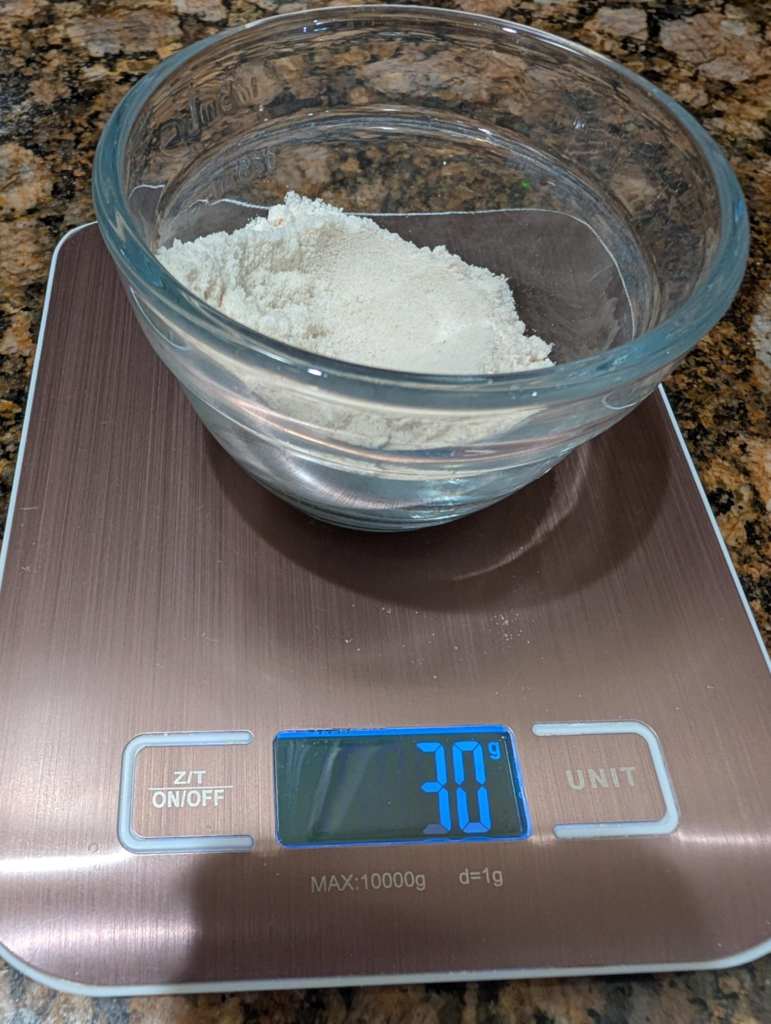
- I fed the remaining starter with 30g of flour and 40g of water, once every 24 hours.
- I planned to alternate discard days, as directed.
Their method requires feeding only once daily and discarding the food every other day before refilling. In contrast, NW Ferments recommends feeding once or twice per day. Given the excess moisture I was dealing with, the once-a-day approach felt like a better fit. I’m optimistic as I approach Day 10, when the starter should be nearly ready for baking!

Days 7-9: Waiting Game
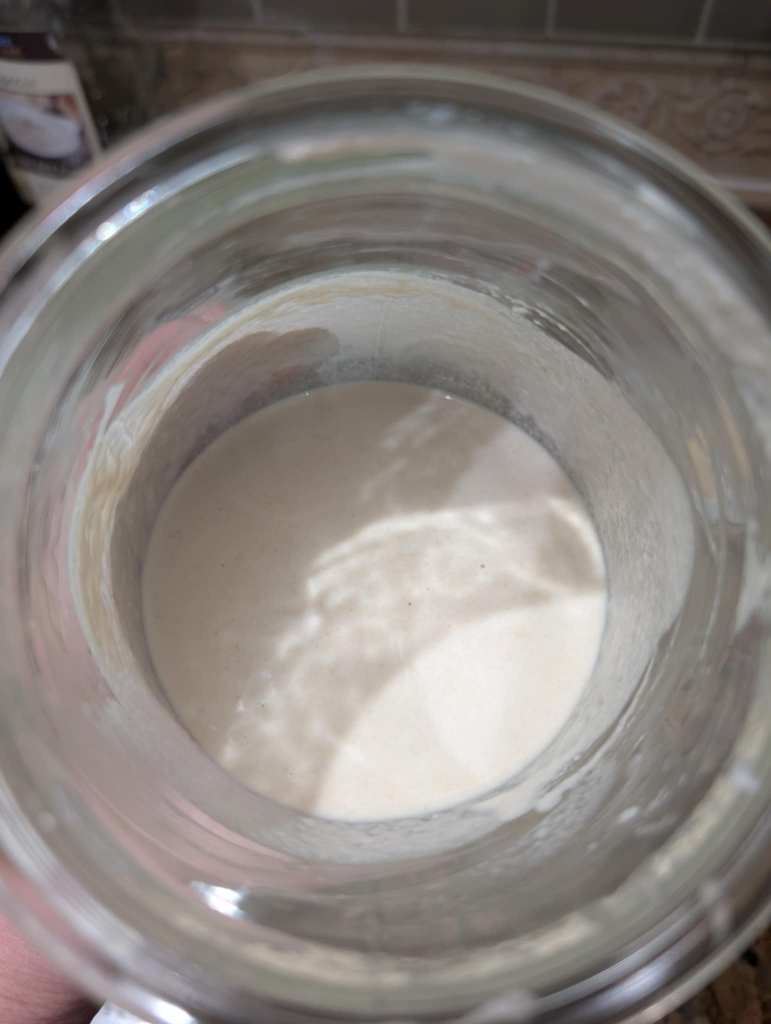
I continued following the instructions from Let Them Eat GF Cake’s Easy Gluten-Free Sourdough Starter—feeding it with 30g of flour and 40g of water every 24 hours and discarding it every other day before feeding. This change resolved the issues I’d been having with excess moisture and separation. The starter developed a pleasant, tangy aroma typical of sourdough, with no hooch or discoloration.
Still, I was discouraged by the lack of visible bubbles. According to Let Them Eat GF Cake, by Day 10, the starter should “look very bubbly and have that classic sour aroma (in a good way)”. I conducted additional research and found another recipe suggesting that feedings should resume every 12 hours, starting around Days 6–7. But I decided to give this method the full 10 days before making any adjustments.


Day 10: Reset and a New Approach
I felt like a kid in a video game—I had made it nine days in, only to realize on Day 10 that I had to backtrack a few levels. My starter had gone flat. No bubbles. It even started to separate again, a clear indication of excessive moisture. So, I went back to the research. Again.
That’s when I discovered Mama Knows Gluten Free. She has spent time perfecting her gluten-free sourdough method and offers a different feeding schedule: every 12 hours, using the following ratio—100g starter, 50g brown rice flour, and 50g water. Her process repeats this feeding schedule from Day 3 through Day 5. If the starter isn’t bubbly by Day 5, she recommends starting back at Day 3.
See? Just like resetting a game level and trying again.
So, I restarted—”Day 3″, Mama’s way.

Days 11-13: Signs of Life
I continued following Mama Knows Gluten Free’s method through Day 13 (her Day 6), hoping this batch would finally rise to the occasion—literally. It seemed Mama knew best.
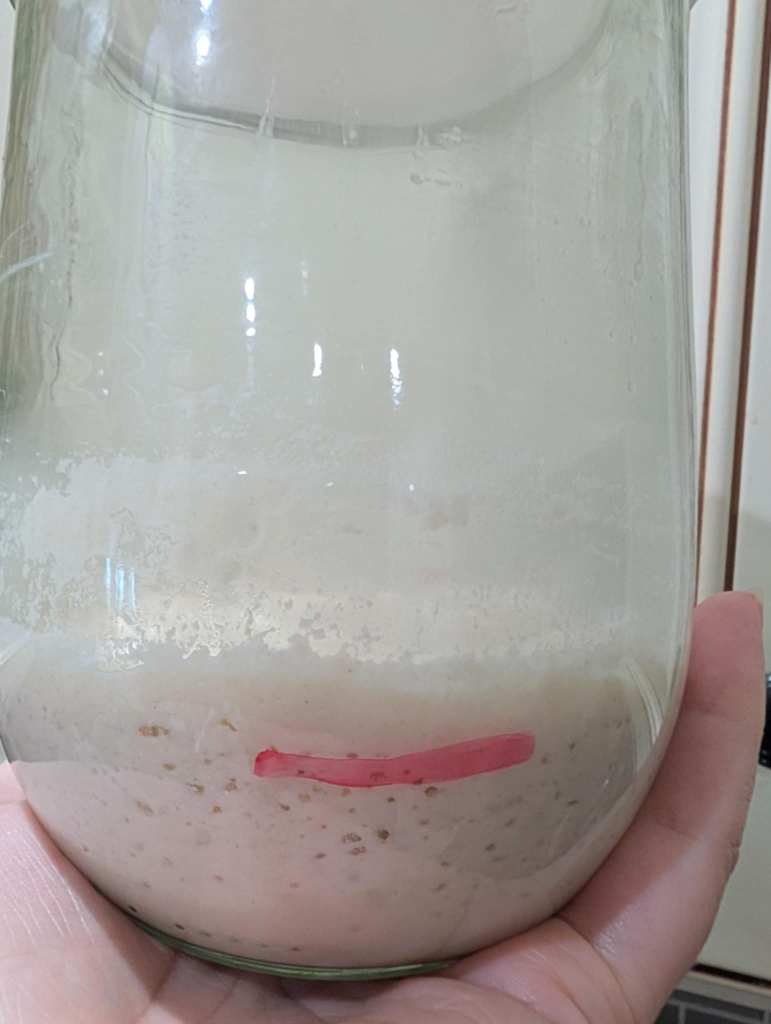
On Day 11 (Day 4 of her method), I woke up to a noticeably bubbly starter. It began to shrink back by evening, just in time for its next feeding, which did spark some gentle rise afterward. Encouraging!
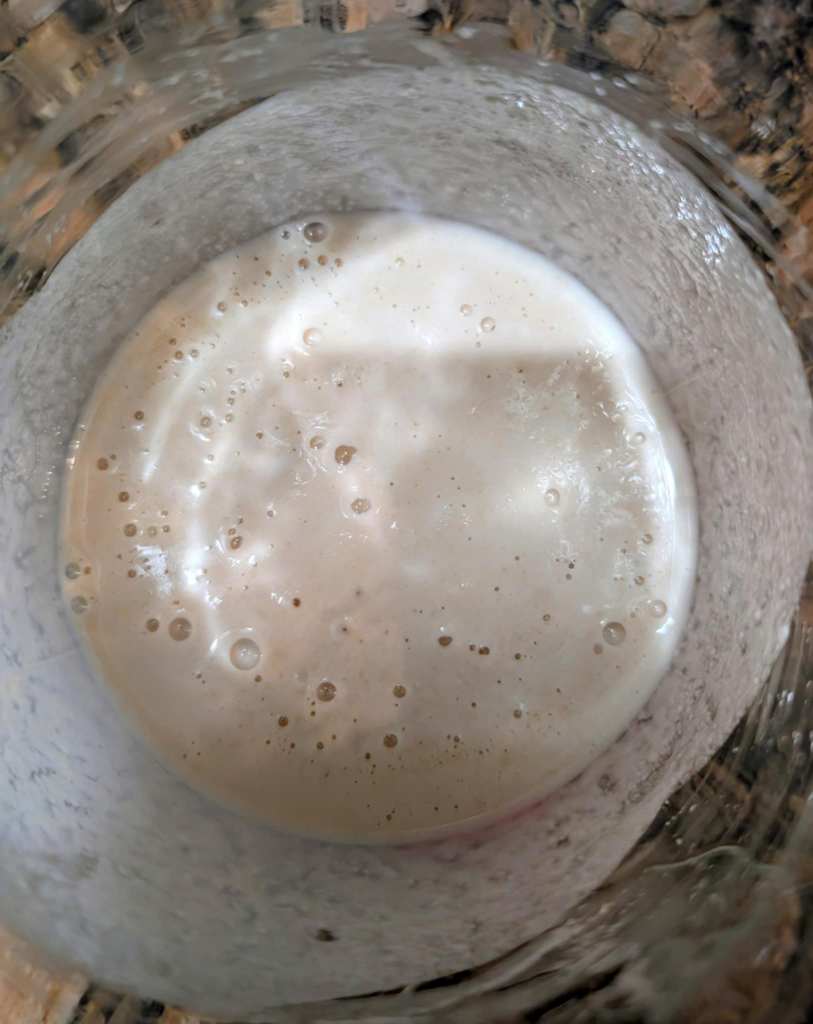
By Day 12 (Mama’s Day 5), the starter had held its bubbles and begun to thicken. After the evening feeding, it became puffy with visible bubbles forming between the layers, just like the photos on Mama Knows Gluten Free.
That puffiness and bubbly texture continued into Day 13. By that evening, the starter had developed a strong sourdough aroma and maintained steady bubbling. According to Mama, if the starter is doubling in size between feedings by this point, you can move to her “Day 6” feeding instructions.
Mine didn’t quite double so I continued feeding every 12 hours. Depending on factors such as room temperature, time of year, and flour type, it may take up to five more days with this method. So, the patience (and persistence) continued!


Days 14-18:
I continued with Day 3 instructions (for up to 5 days, until it starts doubling in size). On Day 14, it showed promise by rising and adding about a quarter of its volume. I felt excited, as if it might start to double soon. On Day 15, I was disappointed to see it didn’t rise much, despite following all of the directions with precision. But Mama said to remain patient for about 5 days. So, I continued on the path. On Day 16, it rose by about a third of the total volume, which was exciting. Day 18 is officially Day 5 of Mama’s Plan. If it doubled by the end of Day 18, I could proceed to “Day 6” of Mama Knows Best Feeding Instructions, which involves feeding every 24 hours.


Day 19+: Discouraged, Desperate… and a Little Bit Rogue
By the end of Day 18, I was feeling discouraged. My starter was going flat, again. This whole process was really taking a long time. I was on the verge of giving up on it and calling the whole thing a loss. But with nothing left to lose, I went rogue and turned to social media, posting pictures and asking for advice.
The consensus from the commenters? My feeding ratio was the problem. I had been using a 100g starter to 100g flour and water ratio. Still, several experienced bakers suggested switching to a smaller ratio: 25g starter to 50g flour and 50g water, or a 1:2:2 ratio, every 12 hours.
One person swore that adding a tablespoon of starch made all the difference for her. Another said a teaspoon of honey helped hers take off. Someone else even said, “Just pray!”—and honestly, that’s where I started.
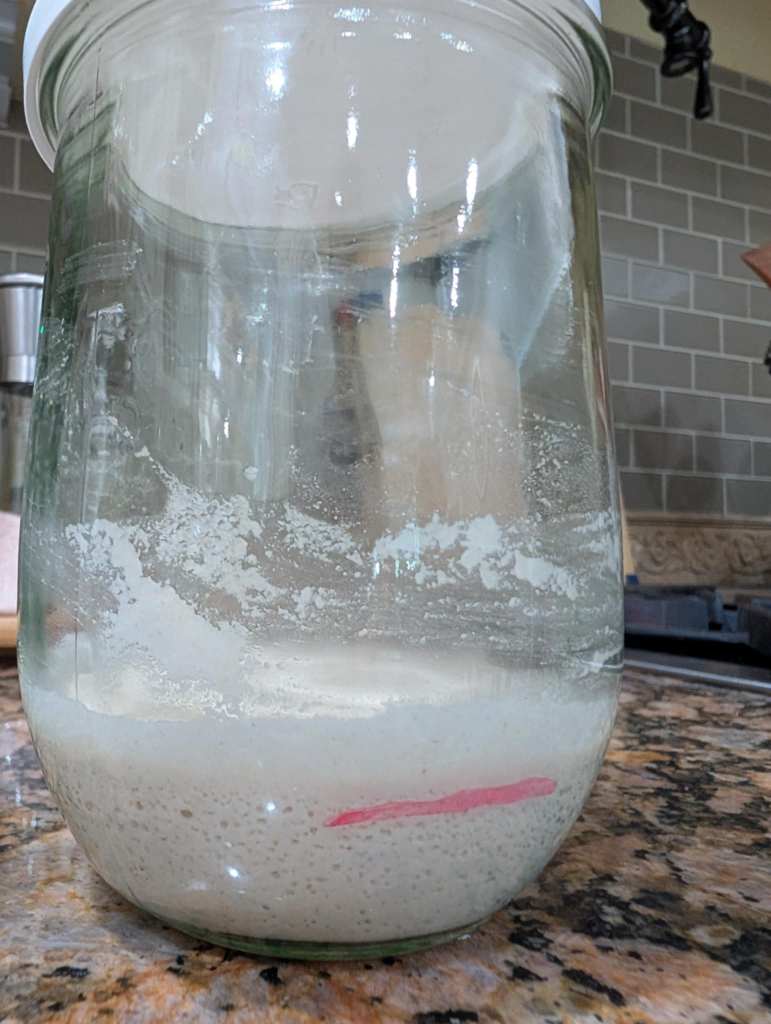
On Day 20, I adjusted the feeding ratio to 1:2:2. From Day 21 onward, I began adding potato starch to the mix. At that point, I lost track of the days (and the photos), with other priorities demanding attention. However, I continued to feed consistently with the new ratio and starch boost, and it began to work.
I still wasn’t seeing a dramatic rise or that magical “doubling.” I kept waiting and wondering. Then I came across a blog post that gave me peace of mind: gluten-free starters don’t always double in size. Sometimes they do—and that’s great—but many don’t. As long as the starter is older than 10 days, bubbly, and showing some rise, it’s considered usable.
So I stopped obsessing over the perfect double. When it looked almost doubled and was active and bubbly, I went for it. I jumped into baking.


It took more than three weeks—probably closer to a month—of trial and error to get my sourdough starter to (almost) double. I stayed consistent with feedings, even during moments when I felt like hope was slipping away. I had even named the starter Evie and prayed for it to live.
Then, right when I needed a sign to keep going, I came across some encouraging words from Natasha’s Home. She wrote:
“If your starter is at least 10 days old and bubbles up consistently after feedings, it is time to bake! Don’t use a starter that is younger than 10 days. It might show great activity but it is not strong enough yet to raise a whole loaf! Note, that your starter doesn’t need to double in size to be fit for bread baking! Gluten-free starters rarely double in size—although it is possible to achieve. If your starter is happy and bubbly, you are good to go!”
Her words were like sweet honey—just what I needed to hear. And they’re part of the reason I now have a beautiful, delicious loaf of my very first gluten-free sourdough bread.
I even used Natasha’s sourdough bread recipe for Soft & Fluffy Gluten-Free Sourdough Bread—and it did not disappoint. The bread dough was surprisingly easy to work with. I spread fresh flour on a pastry mat, turned the dough out onto it, and then applied olive oil to my hands, getting to work on it. After 18 hours of proofing in the refrigerator overnight, I was ready to score and bake. I baked the loaf in a cast-iron Dutch oven. Look at that beautiful loaf! Be sure to check out the 2-minute video I put together to show the whole process from start to finish.


Conclusion: Embracing the Process and What I Would have done differently
Sourdough is finicky—just getting the starter going can feel like a challenge all its own. But don’t be afraid to experiment. As you’ve seen, I truly learned along the way. I even worked with two different starters. When the second one began to struggle, I pivoted, researched, observed, and adjusted. It is a science experiment—one that requires patience, flexibility, and a bit of trial and error.
If I had to do it again, I would still purchase the NW Ferments gluten-free starter. Given the low wild yeast activity in my home environment, it gave me a solid jump-start. However, I would start with the 1:2:2 ratio from the beginning, adding potato starch to boost, if needed, after the first 10 days. I believe these ratios of starter to brown rice flour and water, along with consistent 12-hour feedings, were precisely what my starter needed to thrive. I also now know that I don’t have to wait for the magic doubling, as long as it’s consistently close.
In the end, I successfully established a gluten-free sourdough starter and baked my very first loaf of gluten-free sourdough—and that’s worth celebrating!
The journey from traditional wheat baking to gluten-free sourdough has been a learning curve. I’ve had to persevere, adapt, and give myself grace. If you’re on a similar journey whether for curiosity, or health, we’ve got a supportive community linked below to cheer you on in your gluten-free baking journey—even if sourdough isn’t your thing (yet!).
Let’s rise together.
Want to Join the Journey?
Join the Fresh Milled | Gluten Free Facebook community to learn all about gluten-free, fresh-milling, swap recipes, troubleshoot starter woes, and celebrate small victories in the kitchen.
Do you have tips for gluten-free sourdough or fresh-milled baking? Leave them in the comments below. I’d love to hear from you!
Affiliate Link Disclosure:
This post contains affiliate links. You can read the full disclosure here. All purchases made through these links help offset the cost of operating this blog. Your support is much appreciated!

Leave a reply to How to Mill Gluten-Free Grains: Best Grains, Tools & Tips – Vintage Virtues Cancel reply