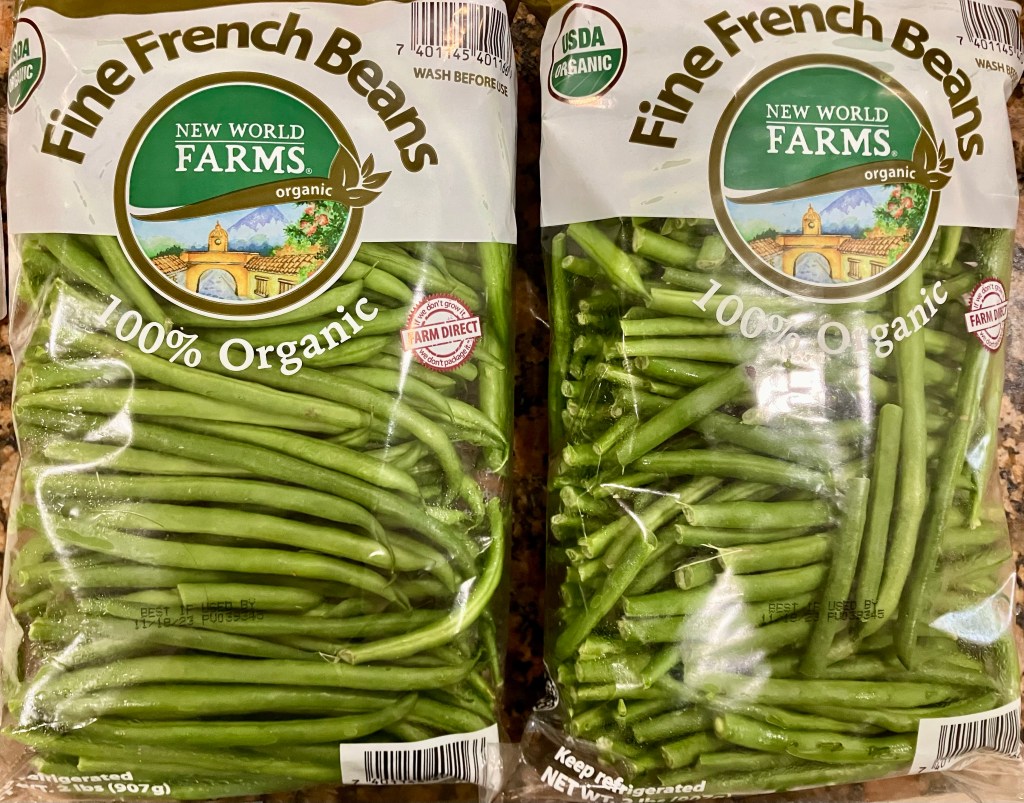
It’s that time of year – Thanksgiving! And you know what that means: great deals on pantry essentials, from seasonings and spices to fresh produce for canning. Right now, Sam’s Club has some top-notch green beans on offer! They were so delicious that I couldn’t resist canning them. Canning green beans is not only a great way to keep them fresh all year round, but it also helps to preserve their incredible flavor. By using the hot pack method, I was able to achieve great results. I slightly overprocessed this batch, so I was fearful they’d be mushy, but they actually turned out perfect.
Even my daughter noticed a difference when she tried the freshly canned green beans at dinner. She asked, “Mom, where did you get these beans?” You can imagine her delight when I told her that I had canned them myself – they didn’t have that metallic taste that store-bought beans sometimes do. And the best part? Each jar cost me just $1.52, and I even splurged on high-quality, organic French green beans.
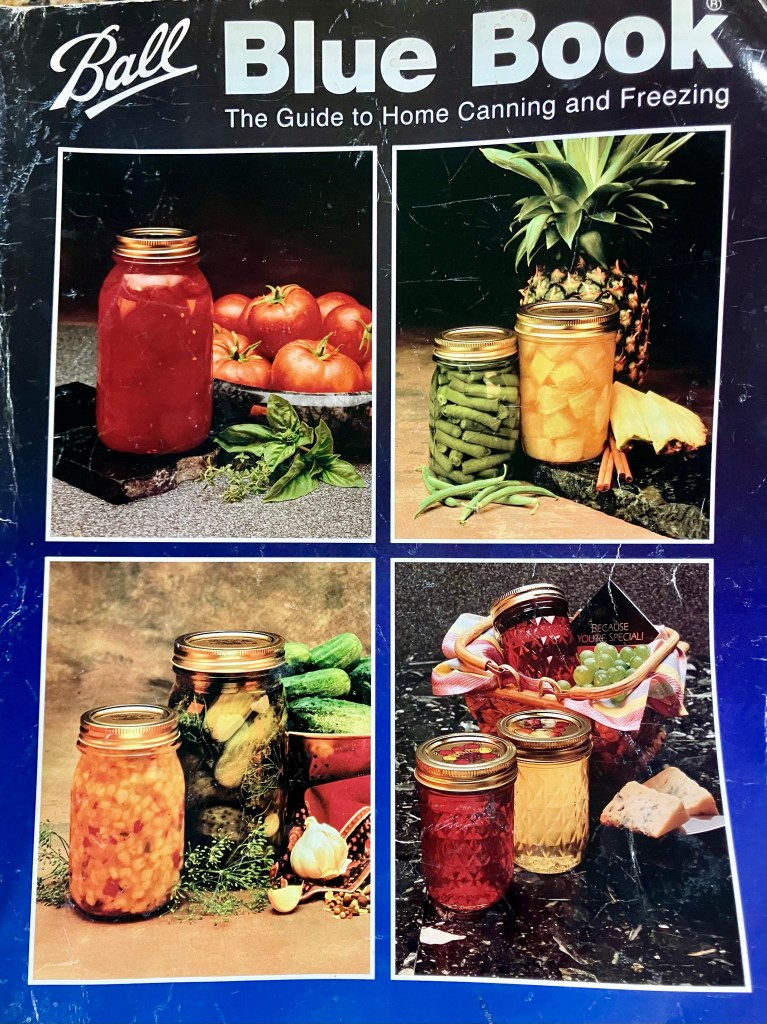
So, if you’re ready, I’ve got a step-by-step guide inspired by the Ball Blue Book, complete with a video to make it easier for you. Bon Appétit!
Step-by-Step Guide to Canning Green Beans
- Prepare the Jars: Start by bringing water to a boil in your pressure cooker, this will be used to further sanitize all of your clean jars, lids, rims, and utensils. I used 8 jars in this recipe. Remove the jars for hot packing once the green beans are prepped and ready for hot pack.
- Prep the Beans: I prepped 4 lbs. of green beans but the recipe only needs 3lbs. Select fresh, firm green beans and wash them thoroughly. Remove the ends and cut them into 2-inch pieces.
- Prepare the Hot Pack: In a separate pot, bring water to a boil. Add the prepped green beans to the boiling water and cook for 5 minutes, drain.
- Pack the Jars: Add 1/2 tsp salt to each jar, then fill the hot jars with the drained hot beans, leaving a 1-inch headspace.
- Add Boiling Water: Pour boiling water over the beans, maintaining the 1-inch headspace. Ensure all the beans are fully submerged.
- Remove Air Bubbles: Use a plastic spatula or a non-metallic tool to remove any air bubbles trapped in the jars.
- Wipe the Rims: Carefully clean the jar rims with a clean, damp cloth to ensure a proper seal.
- Apply Lids and Bands: Place the lids on the jars and screw the bands on firmly, but not too tightly. Finger tight!
- Process the Jars: Place the filled jars in a canner with boiling water. Ensure the jars are fully submerged, covered with at least 1-2 inches of water. Bring the canner up to 10 lbs of pressure (240 degrees) and process pint or quart jars for 20 minutes in a boiling water bath canner.
- Cool and Check the Seals: Once the processing time is complete, carefully remove the jars from the canner and place them on a clean, dry towel. Allow them to cool undisturbed for 12-24 hours. Check the seals by pressing on the center of the lids. If the lids do not flex or pop, they are properly sealed.
Congratulations! You have successfully hot packed canned green beans using the Ball Blue Book method. Be sure to check out my article Preserving Memories: A Guide to Safe Canning for Beginners for more information on canning safely. Embedded in that article is also a video tutorial for canning up my favorite dilly beans!
Please note that the link provided will take you to the article where you can find detailed instructions and tips for safe canning. Happy canning!
Source: Ball Blue Book – Guide to Preserving


Leave a reply to Cleaning Up Mom’s Diner: A Week of 1950’s Inspired Meals & Recipes! – Vintage Virtues Cancel reply